How to configure DNS for a subdomain?
If you’re looking to set up a subdomain for your website, it all starts with configuring the DNS (Domain Name System) settings. Don’t worry; this process is simpler than it sounds. This guide will walk you through everything step by step, in plain language, so you can understand it easily and get the job done.
What Is a Subdomain?
A subdomain is a part of your main domain. It’s like creating a smaller section of your website for a specific purpose. For example:
- Main domain: example.com
- Subdomain: blog.example.com or shop.example.com
Subdomains are often used for blogs, online stores, customer support pages, or any other section that needs its own unique address.
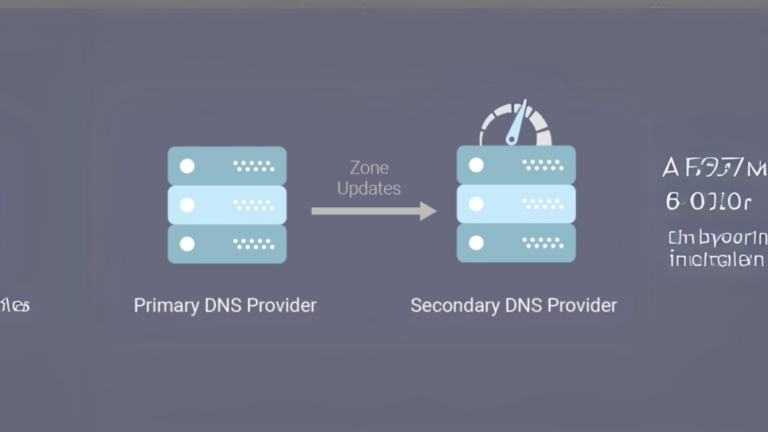
Why Do You Need to Configure DNS for a Subdomain?
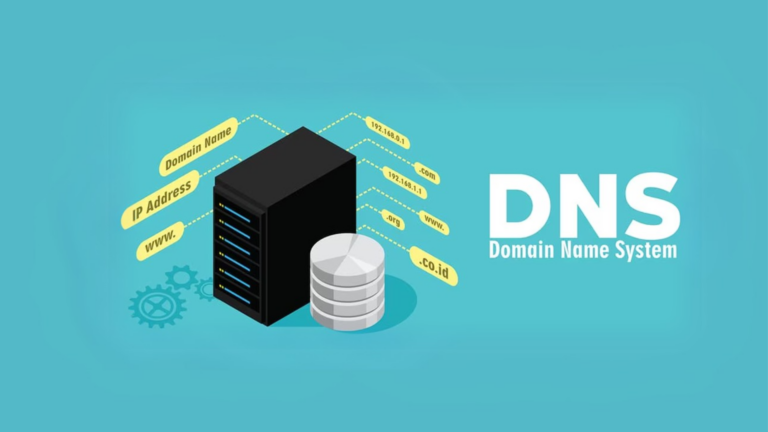
To make your subdomain accessible on the internet, you need to tell the DNS where to direct traffic. DNS is like a map that tells visitors’ browsers where your website content is hosted. Without proper DNS configuration, your subdomain won’t work.
Steps to Configure DNS for a Subdomain
Follow these steps to configure DNS for your subdomain:
1. Log In to Your DNS Provider’s Account
Start by logging into the account where you manage your domain name. This could be:
- Your domain registrar (e.g., GoDaddy, Namecheap)
- A web hosting provider (e.g., Bluehost, HostGator)
- A DNS management service (e.g., Cloudflare)
2. Access the DNS Settings
Once logged in, look for a section called DNS Management, DNS Settings, or Zone Editor. This is where you’ll make changes.
3. Add a New DNS Record
To create a subdomain, you need to add a new record to your DNS settings. Follow these steps:
- Select the Record Type: Choose the correct record type based on your needs. The most common ones are:
- A Record: Points your subdomain to an IP address.
- CNAME Record: Points your subdomain to another domain name.
- Enter the Subdomain Name:
- For example, if your subdomain is blog.example.com, enter just “blog” in the subdomain field.
- Provide the Target:
- For an A Record, enter the IP address of your server.
- For a CNAME Record, enter the domain name your subdomain should point to (e.g., www.example.com).
- Set the TTL (Time to Live):
- TTL controls how long the DNS record is cached. You can leave it at the default value (usually 3600 seconds or 1 hour).
4. Save the Record
After entering the details, save your changes. The exact button might say Save, Add Record, or Update depending on your DNS provider.
5. Wait for DNS Propagation
DNS changes aren’t instant. It can take anywhere from a few minutes to 48 hours for the new settings to take effect globally. During this time, your subdomain might not work everywhere.
Testing Your Subdomain
Once the DNS has propagated, test your subdomain to ensure it’s working correctly. Here’s how:
- Open your web browser.
- Type your subdomain (e.g., blog.example.com) into the address bar.
- Press Enter and check if it loads the expected page.
If it doesn’t work, double-check your DNS settings to ensure there are no typos or errors.
Common Issues and Solutions
If you run into problems, here are some tips:
- Problem: Subdomain not working after 48 hours.
- Solution: Verify your DNS settings and check for typos in the subdomain name, IP address, or target domain.
- Problem: DNS settings not visible in your account.
- Solution: Ensure you’re managing the correct domain and not a different one.
- Problem: Unsure about the record type to use.
- Solution: Contact your hosting provider for guidance. They can tell you whether to use an A Record or CNAME.
Final Thoughts
Setting up DNS for a subdomain might seem technical at first, but it’s straightforward once you understand the steps. Just follow this guide, take your time, and double-check your entries. Once configured, your subdomain will be ready to use for whatever purpose you have in mind!