
What is the difference between public and private DNS?
Understanding the Difference Between Public and Private DNS
If you’ve ever wondered how your computer or phone finds websites on the internet, you’ve come across the concept of DNS. DNS stands for Domain Name System, and it’s like a phone book for the internet. It helps translate easy-to-remember website names (like google.com) into the numerical IP addresses that computers use to communicate. But there are two main types of DNS: public DNS and private DNS. Let’s break down what they are and how they differ in simple terms.
What Is Public DNS?
Public DNS is a service that is open to everyone. It’s provided by companies or organizations that allow anyone to use their DNS servers to browse the internet. When you set your device to use a public DNS, you’re essentially using an external service to translate website names into IP addresses.
Examples of Public DNS Providers:
- Google Public DNS (8.8.8.8 and 8.8.4.4)
- Cloudflare DNS (1.1.1.1)
- OpenDNS (208.67.222.222 and 208.67.220.220)
Advantages of Public DNS:
- Faster Browsing: Public DNS servers are often optimized for speed and reliability.
- Security Features: Some public DNS providers offer added security, like blocking harmful websites.
- Free to Use: Most public DNS services are completely free.
Disadvantages of Public DNS:
- Privacy Concerns: Some public DNS services might collect data about your browsing habits.
- Dependency: You’re relying on an external provider, which could experience outages.
What Is Private DNS?
Private DNS is typically used within a specific organization or network. It is not open for public use and is designed to serve only the users within that private system. Businesses, schools, or large institutions often set up private DNS servers to manage their internal network traffic.
How Private DNS Works:
Private DNS servers handle requests for internal websites or services that only people inside the organization can access. They can also connect to public DNS servers when users need to access the broader internet.
Advantages of Private DNS:
- Enhanced Security: Only authorized users can access the network, reducing the risk of cyber threats.
- Customization: Organizations can control how DNS is managed, including blocking certain websites or prioritizing others.
- Privacy Protection: Since the DNS is internal, there’s less risk of data being shared with third parties.
Disadvantages of Private DNS:
- Limited Access: It’s only useful within the specific network it serves.
- Maintenance Required: Organizations need to invest time and resources to manage private DNS servers.
Key Differences Between Public and Private DNS
| Feature | Public DNS | Private DNS |
|---|---|---|
| Who Can Use It | Anyone with internet access | Restricted to a specific group |
| Purpose | Accessing the public internet | Managing internal networks |
| Privacy | May share data with third parties | Data stays within the network |
| Setup | Easy to set up on any device | Requires dedicated management |
| Examples | Google, Cloudflare, OpenDNS | Business or school networks |
Which One Should You Use?
The choice between public and private DNS depends on your situation:
- For everyday internet users: Public DNS is usually the best option. It’s fast, free, and easy to use.
- For organizations or businesses: Private DNS is a better choice for managing internal networks securely.
How to Change Your DNS Settings
Changing your DNS settings is simple, and it can sometimes improve your internet speed or security. Here’s how you can do it:
- On Windows:
- Go to Settings > Network & Internet > Change adapter options.
- Right-click your network connection and select Properties.
- Select Internet Protocol Version 4 (TCP/IPv4) and click Properties.
- Enter the DNS server addresses you want to use.
- On macOS:
- Go to System Preferences > Network.
- Select your network and click Advanced.
- Go to the DNS tab and add new DNS server addresses.
- On Smartphones:
- For Android, go to Settings > Network & Internet > Private DNS.
- For iPhone, go to Settings > Wi-Fi, tap your network, and configure DNS manually.
Final Thoughts
Understanding the difference between public and private DNS can help you make better decisions about your internet usage. If you want simplicity and speed, public DNS is your go-to option. If you need more security and control within an organization, private DNS is the way to go. Hopefully, this article helped you grasp the basics without overcomplicating things!
Similar Posts

How does DNS filtering work for parental controls?
Introduction Keeping children safe online is a big concern for many parents. The internet is full of content that may not be suitable for kids. One of the ways to control what…
How do I check my DNS settings on Windows?
DNS (Domain Name System) settings are essential for connecting to the internet. If you’re having trouble with your internet connection, checking your DNS settings can help identify the issue. Here’s a step-by-step…
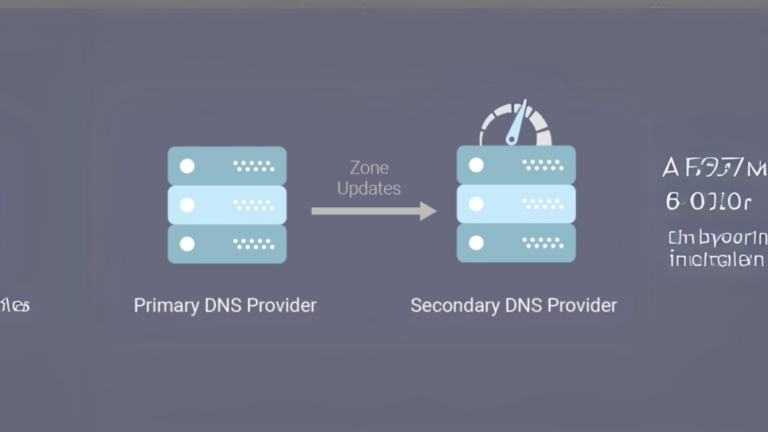
How do I find my primary and secondary DNS servers?
If you’re wondering how to find your primary and secondary DNS servers, you’re not alone. DNS servers are like phone books for the internet. They help translate website names (like www.google.com) into…
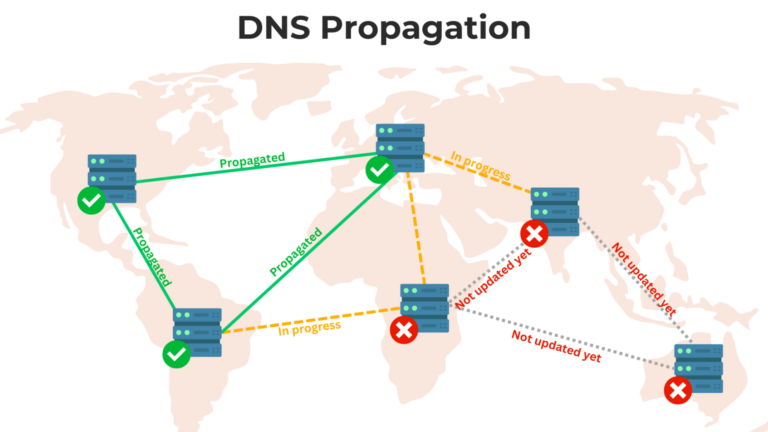
How do I check DNS propagation?
When you make changes to your website’s DNS (Domain Name System) settings, it takes some time for these updates to spread across the internet. This process is called DNS propagation. Knowing how…

What is the difference between Anycast and Unicast DNS?
When it comes to how DNS (Domain Name System) servers work, two common methods are Anycast and Unicast. Both serve the same purpose—helping users reach websites by translating domain names into IP…

How to analyze DNS logs for security?
DNS (Domain Name System) is like the phonebook of the internet. It helps translate website names (like www.example.com) into IP addresses that computers use to connect. Monitoring DNS logs is important because…