How to troubleshoot DNS resolution issues?
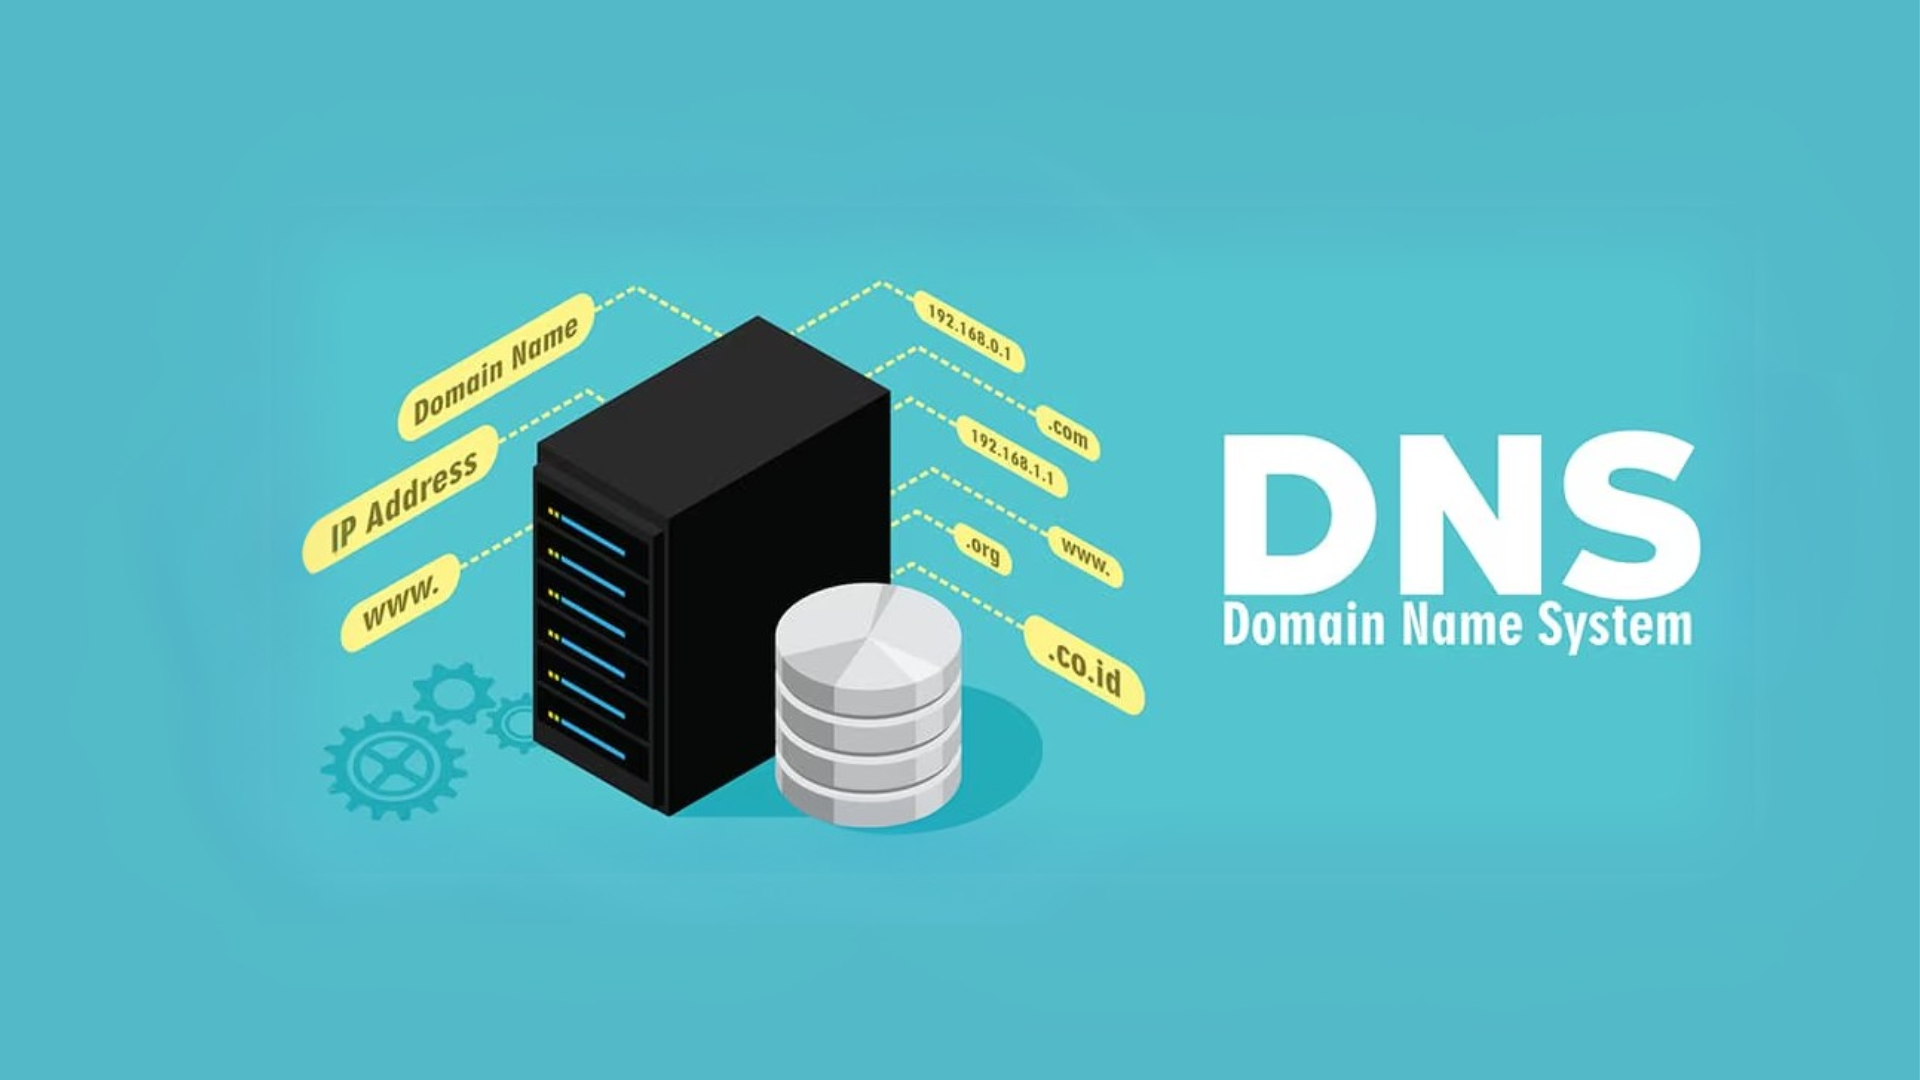
DNS (Domain Name System) is like the phonebook of the internet. It helps translate the domain names you type into your browser, like “example.com,” into IP addresses so your computer knows where to go. When DNS resolution doesn’t work, it can feel like you’re locked out of the internet. Here’s how to troubleshoot DNS issues step by step.
1. Check Your Internet Connection
Before diving into DNS-specific troubleshooting, make sure your internet is working. Here’s what to do:
- Test other devices: Use another device (like your phone) to see if it connects to the same network and works.
- Check physical connections: Ensure your router and modem are plugged in, powered on, and connected properly.
- Restart your equipment: Power cycle your modem and router by unplugging them, waiting 30 seconds, and plugging them back in.
2. Verify DNS Settings
DNS issues often arise due to incorrect or outdated DNS settings. Follow these steps:
- On Windows:
- Open the Control Panel and go to “Network and Sharing Center.”
- Click on your network name, then “Properties.”
- Select “Internet Protocol Version 4 (TCP/IPv4)” and click “Properties.”
- Ensure “Obtain DNS server address automatically” is selected, or manually input a reliable DNS server (like Google’s: 8.8.8.8 and 8.8.4.4).
- On macOS:
- Go to “System Preferences” > “Network.”
- Select your active network and click “Advanced.”
- Navigate to the “DNS” tab and check the DNS server list.
3. Flush Your DNS Cache
Clearing your DNS cache can solve problems caused by outdated or corrupted entries. Here’s how:
- On Windows:
- Open Command Prompt (type
cmdin the search bar and press Enter). - Type
ipconfig /flushdnsand press Enter.
- On macOS:
- Open the Terminal.
- Type
sudo killall -HUP mDNSResponderand press Enter. Enter your password if prompted.
4. Test with a Different DNS Server
Sometimes, the DNS server you’re using may be down or slow. You can switch to a public DNS server like Google or Cloudflare:
- Google DNS: 8.8.8.8 and 8.8.4.4
- Cloudflare DNS: 1.1.1.1 and 1.0.0.1
To switch DNS servers, follow the steps in the “Verify DNS Settings” section above and input these addresses.
5. Ping and Test DNS Resolution
You can use simple tools to check if DNS is working properly:
- Ping a domain: Open Command Prompt or Terminal and type
ping example.com. If you get a reply, DNS is working for that domain. - Ping an IP address: Try
ping 8.8.8.8. If this works but the domain doesn’t, the problem is DNS-related. - Use nslookup: Type
nslookup example.comin Command Prompt or Terminal to check if the domain resolves to an IP address.
6. Restart Your Device
Sometimes, restarting your computer or phone can resolve temporary DNS-related glitches.
7. Update or Reinstall Your Network Drivers
Outdated or corrupt network drivers can cause DNS issues. To fix this:
- On Windows:
- Open “Device Manager” and locate “Network adapters.”
- Right-click your adapter and select “Update driver.”
- Follow the prompts to update.
- On macOS: Ensure you’re running the latest system updates by going to “System Preferences” > “Software Update.”
8. Check for Firewall or Antivirus Interference
Sometimes, a firewall or antivirus program may block DNS traffic. Temporarily disable these programs and check if the problem persists. If DNS works with them disabled, adjust their settings to allow DNS traffic.
9. Contact Your Internet Service Provider (ISP)
If none of the above steps work, the issue might be with your ISP’s DNS servers. Contact their support team and explain the problem. They may be able to resolve the issue or guide you further.
10. Use a VPN as a Temporary Solution
If you’re in a hurry, a VPN can sometimes bypass DNS issues by routing traffic through its own servers. Keep in mind this is a temporary fix and not a long-term solution.
Final Thoughts
DNS resolution issues can be frustrating, but they are usually straightforward to fix if you follow the steps above. Start with the basics, like checking your connection, and work your way through the list. If all else fails, don’t hesitate to seek help from your ISP or a tech-savvy friend.
Similar Posts

What is DNS and How Does it Work?
If you’ve ever used the internet, you’ve benefited from something called DNS, even if you didn’t realize it. DNS is short for Domain Name System. It’s one of the fundamental systems that…

What is an LLMNR, and how does it relate to DNS?
When it comes to computer networks, two important terms often come up: LLMNR (Link-Local Multicast Name Resolution) and DNS (Domain Name System). Both are used to resolve names to IP addresses, but…
How do I verify my DNS records?
If you have a website or manage a domain, you may have heard about DNS records. But what are they, and why is it important to verify them? In this article, we’ll…
What is the difference between public and private DNS?
Understanding the Difference Between Public and Private DNS If you’ve ever wondered how your computer or phone finds websites on the internet, you’ve come across the concept of DNS. DNS stands for…

What is a DNS rebinding attack?
A DNS rebinding attack is a way for hackers to trick a web browser into accessing restricted parts of a local network. This can lead to serious security issues, especially if sensitive…

How to test if my DNS is working?
If you’re having trouble connecting to websites or your internet feels slower than usual, the issue might be with your DNS (Domain Name System). DNS acts like a phone book for the…