How to set up custom DNS records?
Setting up custom DNS records might sound technical, but with the right guidance, it’s something anyone can do. DNS (Domain Name System) records are like a map that tells your domain where to point for different services, such as your website or email. This guide will explain the process step by step in a way that’s simple to understand.
What Are DNS Records?
DNS records are instructions stored in your domain’s DNS settings. They tell the internet how to handle your domain and connect it to services like websites, email servers, or other platforms. Common types of DNS records include:
- A Record: Points your domain to an IP address.
- CNAME Record: Points one domain name to another.
- MX Record: Directs emails to your email server.
- TXT Record: Provides text information for verification or security purposes.
- NS Record: Specifies the name servers for your domain.
Steps to Set Up Custom DNS Records
1. Log in to Your Domain Registrar
Your domain registrar is the company where you purchased your domain name. Examples include GoDaddy, Namecheap, or Google Domains. Use your credentials to log in to your account.
2. Access the DNS Settings
Once logged in, navigate to the DNS settings. This option is often labeled as DNS Management, Manage DNS, or something similar. It might be located under the domain management section.
3. Identify the Type of DNS Record You Need
Before making changes, determine the type of record you need to add or modify. Refer to the service you’re trying to set up (e.g., a website or email provider) for the exact requirements.
4. Add or Edit DNS Records
Here’s how to add or edit specific types of records:
Adding a New Record:
- Look for an option to Add Record or Create Record.
- Choose the type of record (A, CNAME, MX, etc.).
- Fill in the required fields:
- Name/Host: This is often “@” for the root domain or a subdomain like “www.”
- Value/Points to: This is the destination, such as an IP address or another domain name.
- TTL (Time to Live): This determines how often the record updates. Default settings usually work fine.
- Save the record.
Editing an Existing Record:
- Locate the record you want to modify.
- Click on the Edit option (often represented by a pencil icon).
- Make the necessary changes and save.
5. Double-Check Your Entries
Small mistakes can cause big issues. Make sure all details match the instructions provided by the service you’re connecting to. Double-check the IP address, domain name, or other values.
6. Save Changes and Wait for Propagation
Once you’ve made your changes, save them. Keep in mind that DNS changes can take some time to go into effect, usually between a few minutes and 48 hours. This delay is called DNS propagation.
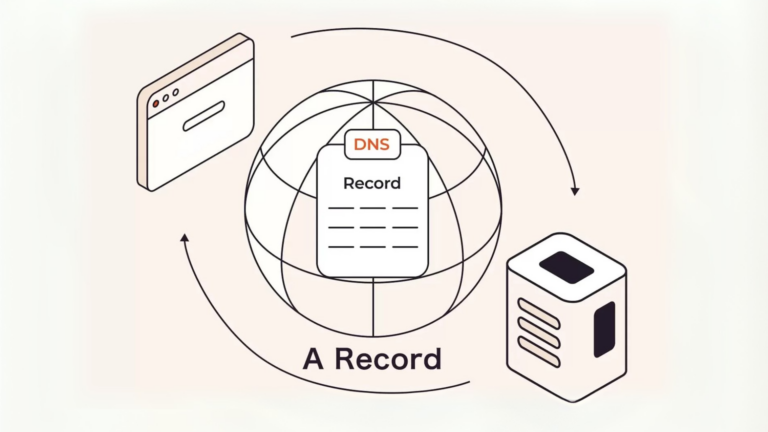
Example: Setting Up an A Record
Let’s say you want to point your domain to a specific IP address. Here’s what you’d do:
- Log in to your domain registrar.
- Go to the DNS settings.
- Click Add Record and choose A Record.
- Fill in the fields:
- Name/Host: Use “@” for the root domain or specify a subdomain like “blog.”
- Points to: Enter the IP address (e.g., 192.168.1.1).
- TTL: Leave it at the default.
- Save the record.
Tips for Managing DNS Records
- Backup First: Before making changes, note down the current DNS settings in case you need to revert.
- Follow Instructions: Always refer to your service provider’s setup guide for specific details.
- Be Patient: Changes might not be instant, so wait for propagation before checking the results.
- Ask for Help: If you’re unsure, most registrars have support teams or help articles to guide you.
Common Issues and How to Fix Them
1. Website Not Loading
- Possible Cause: Incorrect A Record.
- Fix: Double-check the IP address and ensure it’s correctly entered.
2. Email Not Working
- Possible Cause: Wrong MX Records.
- Fix: Verify the MX records with your email provider’s instructions.
3. Verification Fails
- Possible Cause: Missing or incorrect TXT record.
- Fix: Ensure the TXT record matches the verification code provided by the service.
Setting up custom DNS records might feel intimidating at first, but by breaking it down into simple steps, it’s completely manageable. Follow this guide, and you’ll be able to handle your DNS settings with confidence. If you ever get stuck, don’t hesitate to reach out to your domain registrar’s support team for assistance.
https://akperbinalitasudama.ac.id/
https://akfisstlukastomohon.ac.id/
https://akbidjakartamitrasejahtera.ac.id/
https://akperpemkabacehtenggara.ac.id
https://aklpemprovsumsel.ac.id/
https://poltekkessbengkulu.ac.id/
https://akabidartakabanjahe.ac.id/
https://atrowidyadharma.ac.id/
https://akbidhafsyahmedan.ac.id/
https://akbidindahmedan.ac.id/
https://akbiddelhusdelmed.ac.id/
https://akperharapanmamadeliserdang.ac.id/
https://stmiktrigunapati.ac.id/
https://akbidikabinalabuhanbatu.ac.id/
https://akbidbungabangsaaceh.ac.id/
https://ejournal.akbidbungabangsaaceh.ac.id/
guiadenoivos.saojosedojardimeuropa.com.br
beyond.globalpranichealing.com/about/
ejournal.akbidbungabangsaaceh.ac.id