How to prevent DNS leaks?
If you’re concerned about your online privacy, you’ve probably heard about DNS leaks. But what exactly are they, and how can you prevent them? In this article, I’ll explain what a DNS leak is and give you simple steps to stop it from happening. Don’t worry, I’ll keep it straightforward and easy to understand.
What is a DNS Leak?
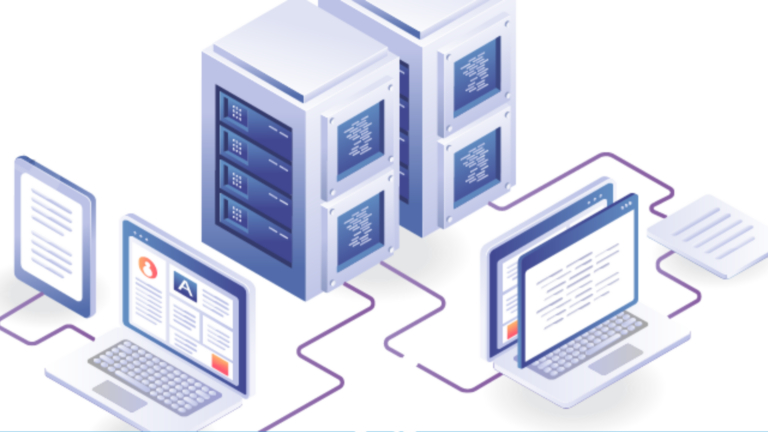
To start, let’s break down what DNS is. DNS stands for Domain Name System, which is like the phonebook of the internet. When you type in a website address, like “www.example.com,” your device needs to know the numerical IP address of that site. It asks a DNS server to get that information.
A DNS leak happens when your DNS requests (the process of finding an IP address for a website) are sent outside of your secure connection, like a VPN. This means your Internet Service Provider (ISP) or other third parties can see which websites you’re visiting, even if you’re using a VPN to hide your activity.
Why Should You Care About DNS Leaks?
- Privacy Risks: If your DNS requests are leaking, it means your ISP or any hacker can monitor your browsing activity, even if you’re using a VPN.
- Security Concerns: Leaking DNS information can make you vulnerable to malicious actors who may intercept your traffic.
- Avoiding Censorship: In some countries, governments block or restrict access to certain websites. A DNS leak could allow them to see your browsing activity and censor you.
How to Prevent DNS Leaks
Now that we know what a DNS leak is and why it matters, let’s look at how you can stop it.
1. Use a Reliable VPN
One of the best ways to protect yourself from DNS leaks is by using a good VPN (Virtual Private Network). A VPN encrypts your connection and routes all your internet traffic through a secure server, keeping your online activity private.
- Choose a VPN with DNS Leak Protection: Some VPNs automatically block DNS leaks. Look for VPNs that have built-in DNS leak protection.
- Enable DNS leak protection in VPN settings: If your VPN supports it, make sure this feature is enabled.
2. Change Your DNS Settings
You can manually set your DNS servers to use a more secure, privacy-focused DNS provider. By doing this, your DNS requests won’t go through your ISP’s servers, which can help prevent leaks.
- Popular DNS Providers: Consider using free, privacy-friendly DNS services like:
- Google DNS: 8.8.8.8 and 8.8.4.4
- Cloudflare DNS: 1.1.1.1 and 1.0.0.1
- OpenDNS: 208.67.222.222 and 208.67.220.220
3. Test for DNS Leaks
After setting up your VPN or changing your DNS settings, you should check if your DNS is still leaking. There are simple tools online that let you test this.
- DNS Leak Test Websites: Use sites like dnsleaktest.com to see if any DNS leaks are happening. Run the test while connected to your VPN to make sure everything is working properly.
4. Use a DNS Leak-Proof VPN
Not all VPNs are created equal. Some VPNs are better at preventing DNS leaks than others. If you want to be extra cautious, choose a VPN that guarantees DNS leak protection.
5. Avoid Using Public Wi-Fi
Public Wi-Fi networks are often less secure, and they can make it easier for attackers to intercept your traffic. When using public Wi-Fi, it’s even more important to use a VPN with DNS leak protection to keep your data safe.
6. Disable IPv6 (if necessary)
IPv6 is the newer version of the internet protocol, but it can sometimes cause DNS leaks if it’s not properly configured. If you’re using IPv6 and you notice a DNS leak, you may need to disable it in your device’s settings.
- How to Disable IPv6:
- On Windows: Go to Network Connections, right-click your network, choose Properties, and uncheck IPv6.
- On macOS: Go to System Preferences > Network > Advanced > TCP/IP, and set “Configure IPv6” to “Link-local only.”
7. Keep Your Software Updated
Sometimes, DNS leaks happen because of outdated software. Always keep your VPN, browser, and operating system up to date to ensure you’re using the latest security fixes.
Final Thoughts
Preventing DNS leaks is an important step in maintaining your online privacy. By using a VPN with DNS leak protection, changing your DNS settings, and doing regular tests, you can safeguard your online activity from prying eyes. Don’t forget to disable IPv6 if necessary, and always keep your software updated for the best protection. With these simple steps, you can browse the web with confidence knowing that your DNS requests are secure.