How to fix DNS errors?
If you’re reading this, chances are you’re having trouble accessing websites because of a DNS error. Don’t worry—DNS errors are common, and most of the time, they’re easy to fix. Let me walk you through what a DNS error is and the steps to solve it.
What is a DNS Error?
DNS stands for “Domain Name System.” It acts like a phonebook for the internet, translating website names (like google.com) into IP addresses that computers understand.
A DNS error happens when this system fails, and your browser can’t connect to the website. The error could be due to issues with your device, network, or the DNS service you’re using.
Common Causes of DNS Errors
Before fixing the problem, it helps to know what might be causing it:
- Incorrect DNS settings on your device or router.
- Problems with your internet connection.
- Issues with your DNS server (the one provided by your ISP or a custom one you’ve chosen).
- Corrupted cache on your device or browser.
- Firewall or antivirus settings blocking DNS access.
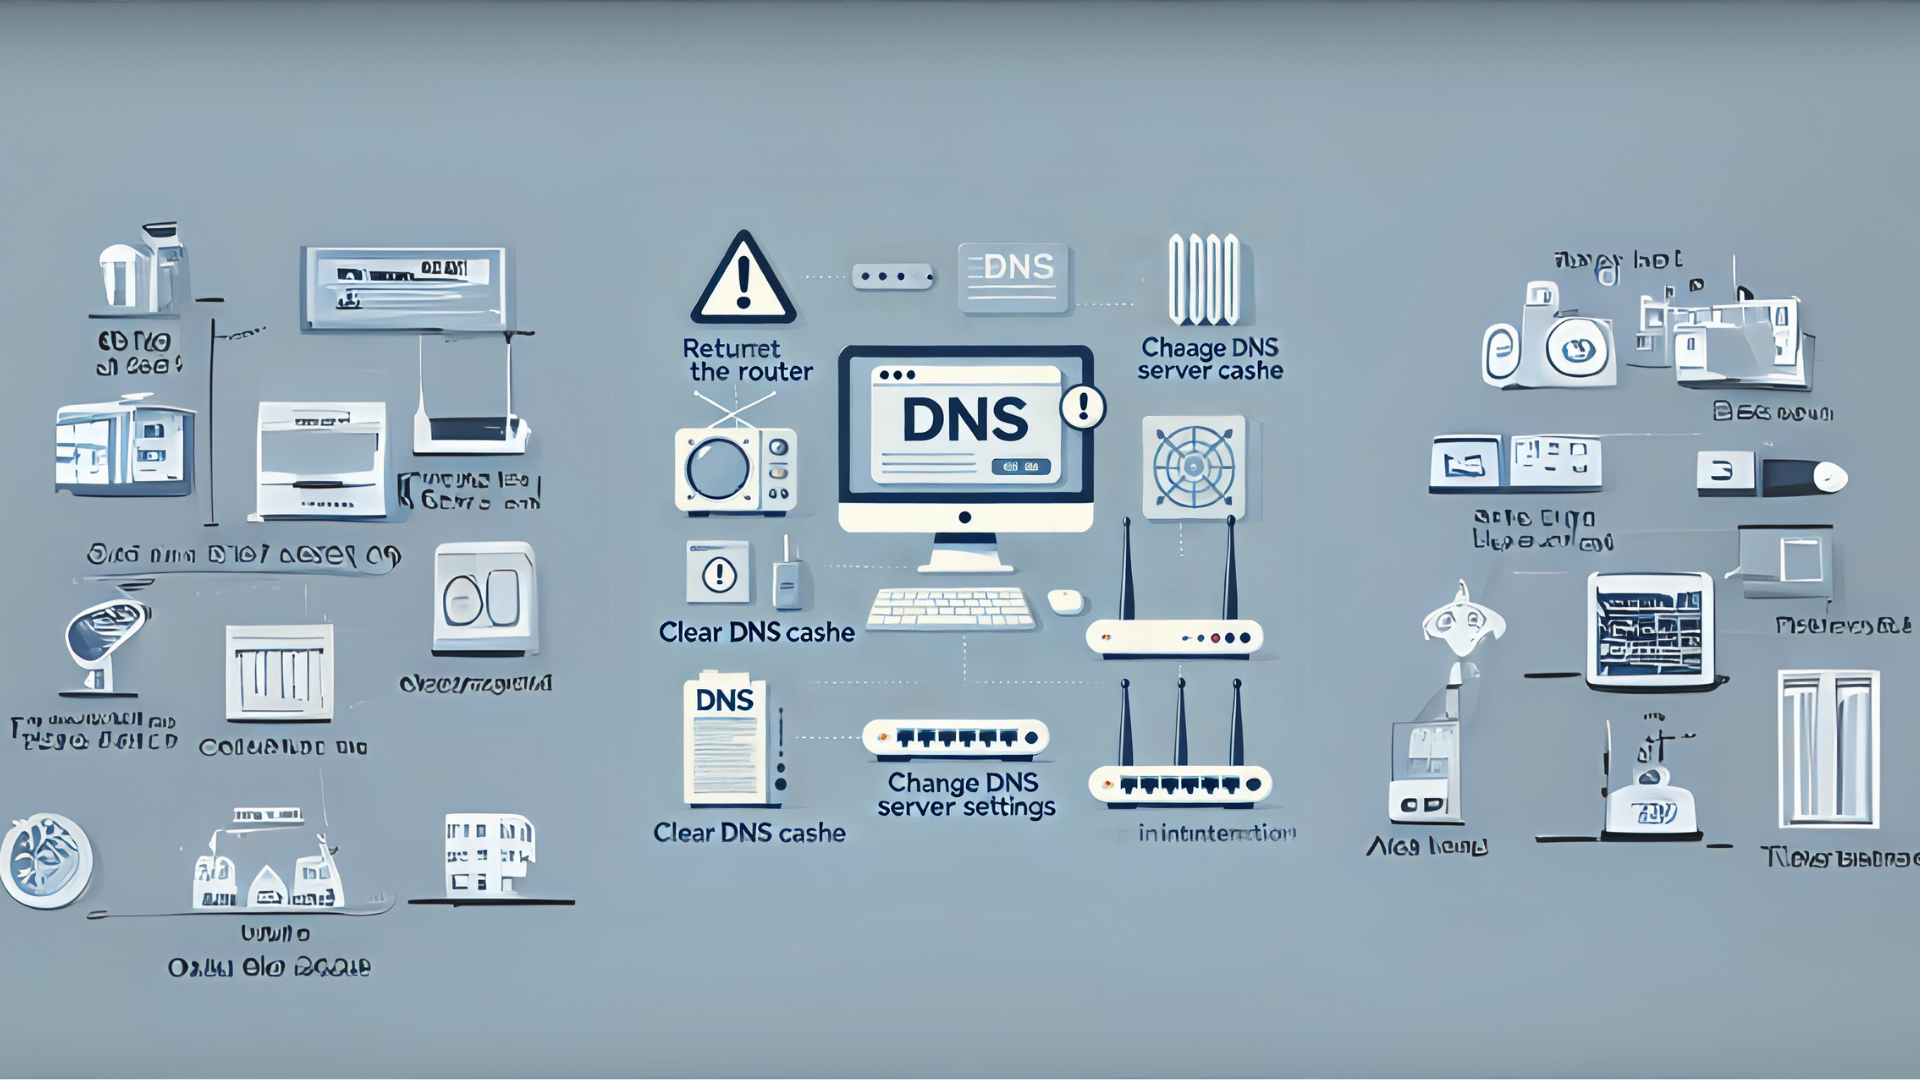
Step-by-Step Fixes for DNS Errors
Here are some simple steps you can take to resolve DNS errors:
1. Restart Your Device and Router
- Turn off your computer, phone, or tablet.
- Unplug your router and modem, wait for 30 seconds, and plug them back in.
- Turn your device back on and see if the problem is fixed.
2. Check Your Internet Connection
- Open another website to see if it loads.
- Try using a different device to rule out internet issues.
- If no devices can connect, contact your Internet Service Provider (ISP).
3. Clear Your DNS Cache
- On Windows:
- Press
Win + R, typecmd, and press Enter. - Type the command:
ipconfig /flushdnsand press Enter.
- Press
- On Mac:
- Open the Terminal app.
- Type the command:
sudo killall -HUP mDNSResponderand press Enter.
- Restart your browser and check if the issue is resolved.
4. Change Your DNS Server
If your ISP’s DNS server is causing the issue, switch to a free and reliable DNS server like Google Public DNS or Cloudflare.
- On Windows:
- Go to
Control Panel > Network and Sharing Center > Change adapter settings. - Right-click your active connection and select
Properties. - Double-click
Internet Protocol Version 4 (TCP/IPv4). - Select “Use the following DNS server addresses” and enter:
- Preferred:
8.8.8.8(Google) - Alternate:
8.8.4.4(Google) or1.1.1.1(Cloudflare).
- Preferred:
- Go to
- On Mac:
- Go to
System Preferences > Network. - Select your active connection and click
Advanced. - Go to the DNS tab and add the above addresses.
- Go to
5. Disable Firewall or Antivirus Temporarily
- Sometimes, firewalls or antivirus programs block DNS requests. Disable them temporarily and check if the problem is solved.
- Remember to turn them back on after testing.
6. Use Another Browser
- Try a different browser like Chrome, Firefox, or Edge. If the website works, the problem might be with your current browser.
7. Reset Your Network Settings
If nothing works, reset your network settings to default.
- On Windows: Run the command
netsh int ip resetin the Command Prompt. - On Mac: Go to
System Preferences > Network, remove the active connection, and reconnect it.
When to Contact Your ISP
If you’ve tried all the above steps and the issue persists, the problem might be on your ISP’s side. Call their customer service and explain the issue—they might fix it for you or guide you further.
Final Thoughts
DNS errors can feel frustrating, but with these steps, you should be able to fix most issues on your own. Remember to take it step by step and test after each fix. If all else fails, your ISP is there to help.