How to check my DNS settings?
DNS (Domain Name System) is like the address book of the internet. It translates domain names (like www.example.com) into IP addresses so your computer can load the website you want to visit. Sometimes, you may need to check your DNS settings to troubleshoot internet issues or configure your network. In this article, I’ll walk you through simple steps to check your DNS settings on different devices.
What Are DNS Settings?
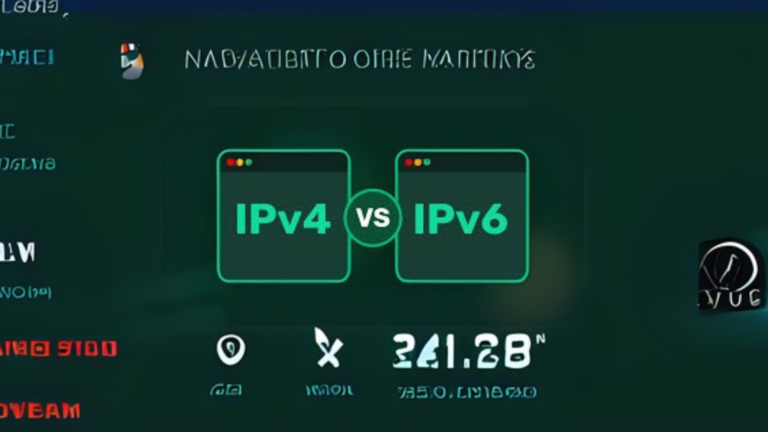
Your DNS settings determine which DNS servers your device uses to resolve domain names. Most people use their Internet Service Provider’s (ISP) default DNS servers, but you can switch to alternatives like Google Public DNS or Cloudflare for better speed and security.
Why Check Your DNS Settings?
Here are some common reasons you might want to check your DNS settings:
- Troubleshooting Internet Issues: If you’re having trouble connecting to websites.
- Improving Speed and Security: Switching to a faster or more secure DNS server.
- Customizing Your Network: For parental controls or blocking specific sites.
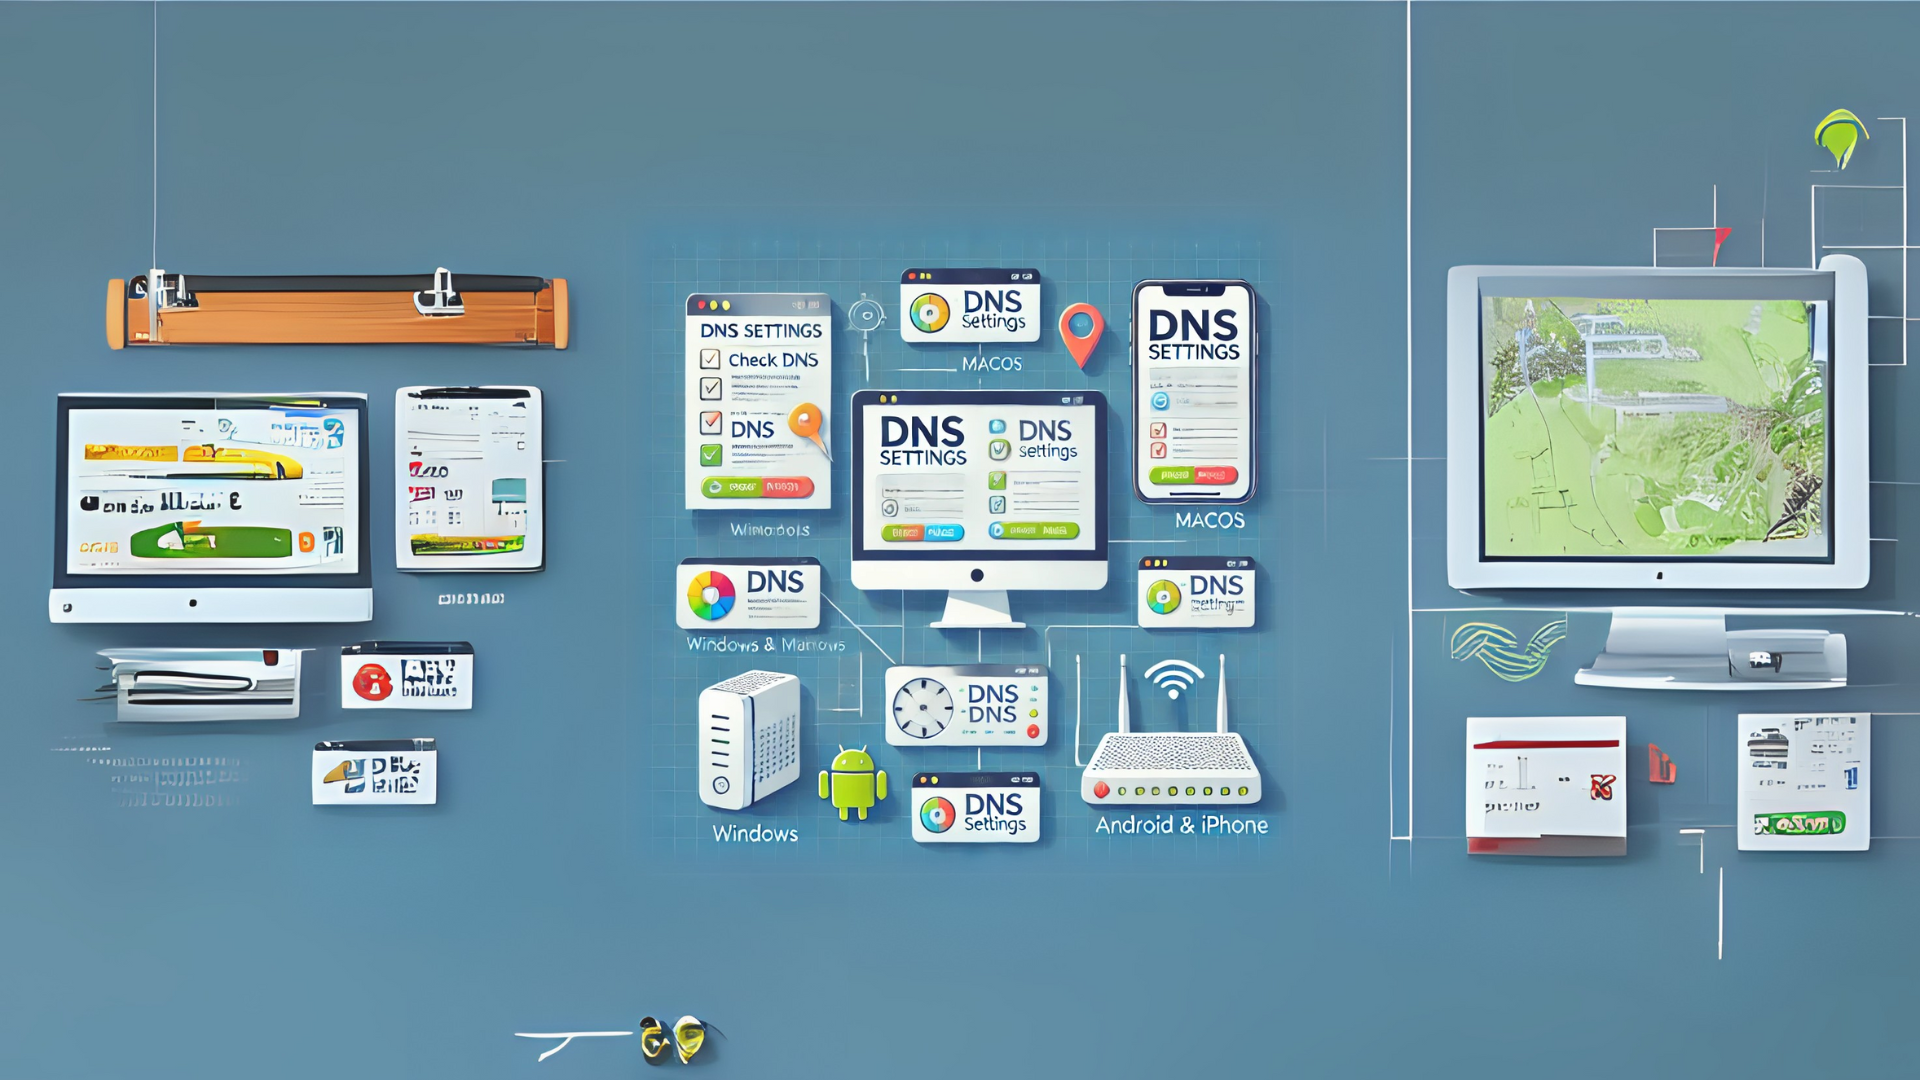
How to Check DNS Settings on Windows
- Open Network Settings:
- Right-click the network icon in the taskbar (bottom-right corner).
- Click Open Network & Internet settings.
- Access Network Properties:
- Scroll down and click Change adapter options.
- Right-click your active network connection and select Properties.
- View DNS Settings:
- Highlight Internet Protocol Version 4 (TCP/IPv4) and click Properties.
- Look under the DNS server addresses section.
How to Check DNS Settings on macOS
- Open System Preferences:
- Click the Apple menu (top-left corner) and select System Preferences.
- Access Network Settings:
- Choose Network.
- Select your active connection (Wi-Fi or Ethernet) from the list on the left.
- View DNS Servers:
- Click Advanced and go to the DNS tab.
- You’ll see a list of DNS servers your device is using.
How to Check DNS Settings on Android
- Open Wi-Fi Settings:
- Go to Settings > Network & Internet > Wi-Fi.
- Access Network Details:
- Tap your connected Wi-Fi network.
- Scroll down and tap Advanced or Modify network (depending on your device).
- Check DNS Information:
- Look for the IP settings section. If it’s set to Static, you’ll see the DNS servers listed. If it’s DHCP, your router is providing the DNS servers.
How to Check DNS Settings on iPhone/iPad
- Open Wi-Fi Settings:
- Go to Settings > Wi-Fi.
- View Network Details:
- Tap the (i) icon next to your connected Wi-Fi network.
- Find DNS Servers:
- Scroll down to the DNS section to see the servers your device is using.
How to Check DNS Settings on Your Router
If you’re using a router, it’s likely managing the DNS settings for all devices on your network. Here’s how to check:
- Access the Router Interface:
- Open a web browser and type your router’s IP address (usually something like 192.168.0.1 or 192.168.1.1).
- Log in with your username and password (check your router manual if you’re unsure).
- Locate DNS Settings:
- Look for a section like Internet Settings or DNS Settings.
- You’ll see the DNS servers listed here.
What to Do If DNS Settings Are Missing or Incorrect
If you notice your DNS settings are blank or incorrect, here’s how to fix them:
- Manually Enter DNS Servers:
- Use a reliable DNS provider, such as:
- Google Public DNS: 8.8.8.8 and 8.8.4.4
- Cloudflare: 1.1.1.1 and 1.0.0.1
- Reset DNS to Default:
- On most devices, you can reset DNS settings by choosing the Obtain DNS server address automatically option in your network settings.
Final Thoughts
Checking your DNS settings is a simple process that can help solve connectivity problems and improve your internet experience. Whether you’re on a computer, smartphone, or router, the steps are straightforward and easy to follow. If you’re unsure, don’t hesitate to reach out to your ISP or a tech-savvy friend for help.
guiadenoivos.saojosedojardimeuropa.com.br
beyond.globalpranichealing.com