How does DNS affect VPN connections?
When using a VPN, many people focus on encryption and IP address masking. However, one critical factor that affects your VPN connection is the Domain Name System (DNS). DNS plays a key role in how the internet works, and it can impact your VPN experience in several ways. In this article, I will explain how DNS affects VPN connections and what you should know to ensure a secure and smooth experience.
What is DNS?
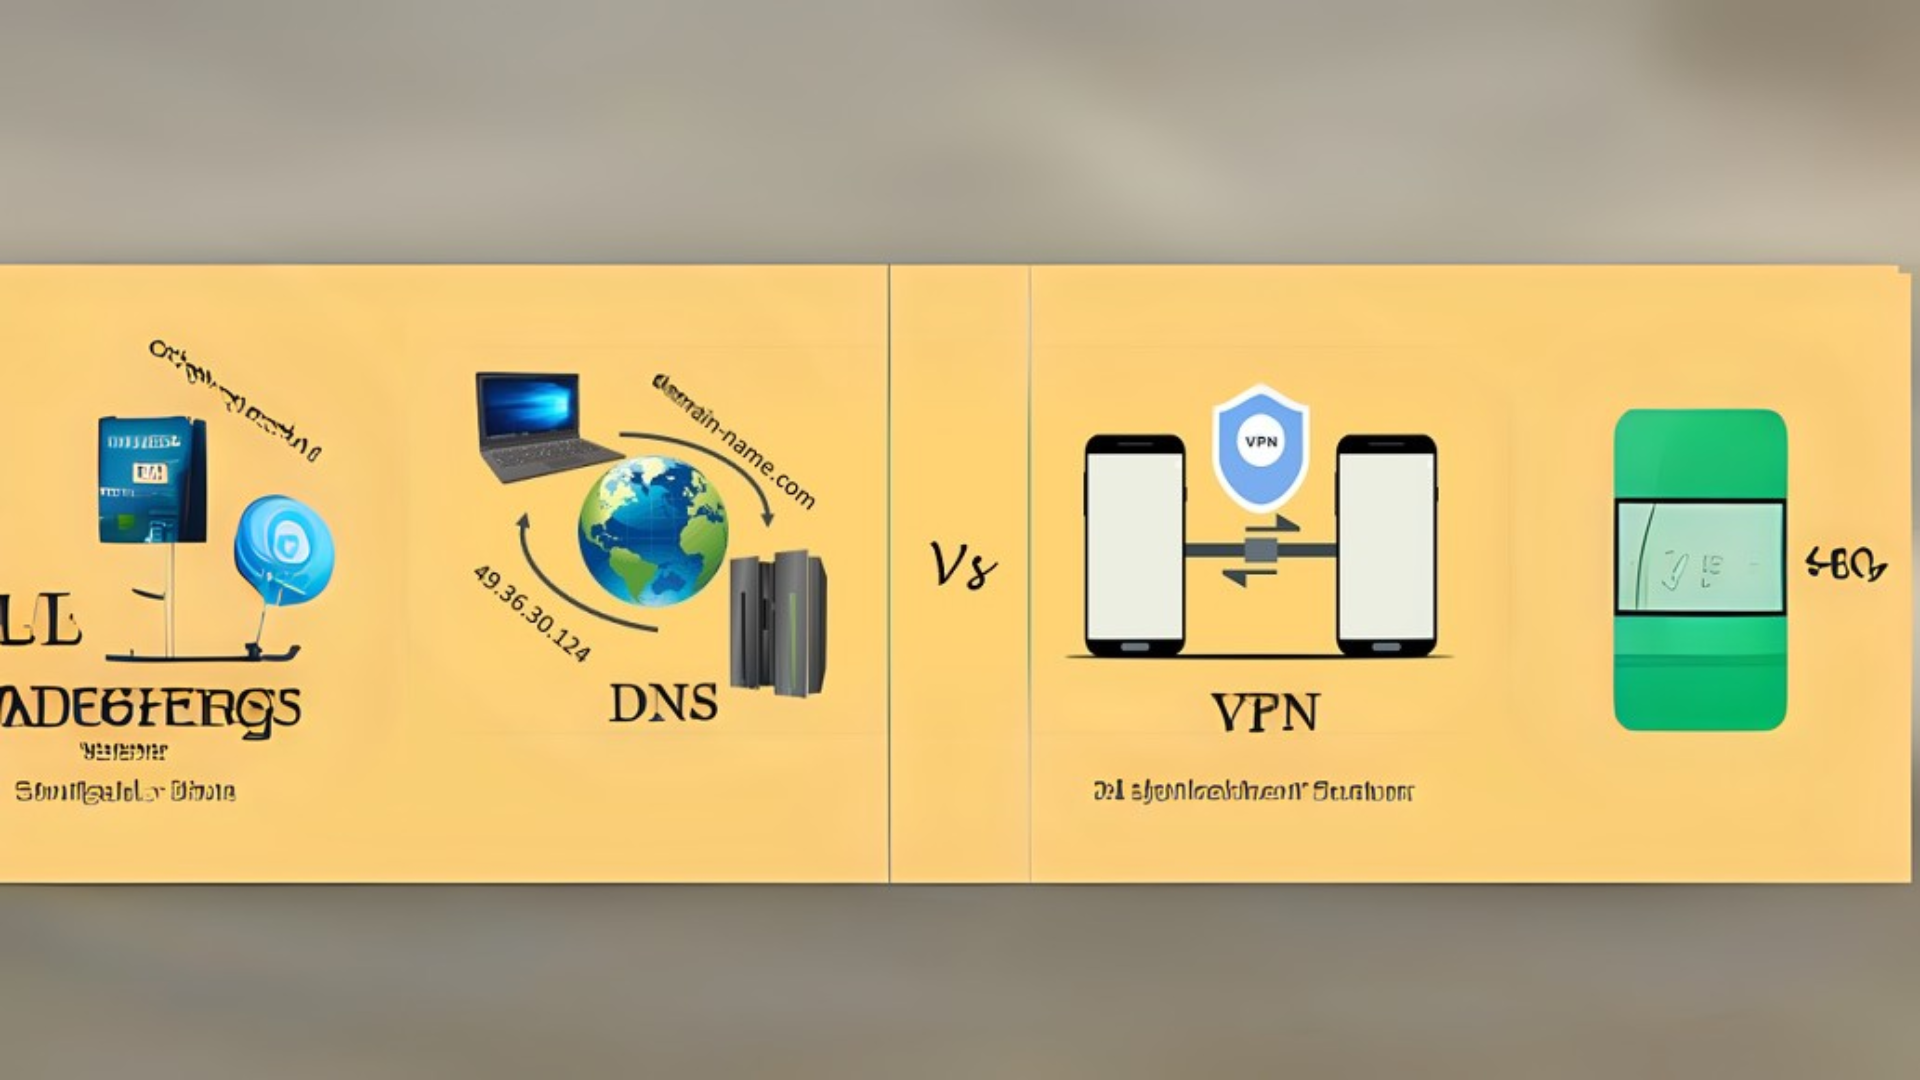
DNS (Domain Name System) is like a phonebook for the internet. Instead of remembering long strings of numbers (IP addresses), we use domain names like google.com. When you enter a website address, DNS translates it into the IP address that your device needs to connect to the correct server.
How VPNs Work
A VPN (Virtual Private Network) creates a secure tunnel between your device and the internet. It hides your real IP address and encrypts your data, making it harder for hackers, internet service providers (ISPs), and governments to track your online activity.
How DNS Affects VPN Connections
DNS settings can impact your VPN connection in several ways:
1. DNS Leaks
When you connect to a VPN, your DNS requests should go through the VPN’s secure tunnel. However, sometimes your device may still use your ISP’s DNS instead. This is called a DNS leak, and it can expose your real location and browsing activity.
How to Fix It:
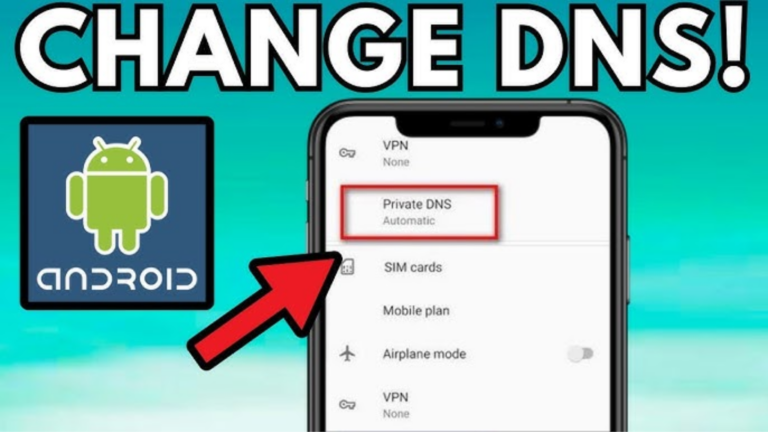
- Use a VPN with built-in DNS leak protection.
- Manually change your DNS settings to a trusted provider like Cloudflare (1.1.1.1) or Google (8.8.8.8).
- Test for DNS leaks using online tools like
dnsleaktest.com.
2. Slow Connection Speeds
If your VPN uses a slow DNS server, your browsing experience can feel sluggish. Every time you load a website, your device has to look up the IP address. If the DNS response is slow, it can delay page loading times.
How to Fix It:
- Choose a VPN provider that offers fast and private DNS servers.
- Manually switch to a faster DNS provider.
- Use a VPN with split tunneling, allowing you to route DNS requests outside the VPN when needed.
3. Access to Blocked Content
Some websites and services block traffic based on DNS requests. For example, streaming services may check your DNS location to enforce regional restrictions.
How to Fix It:
- Use a VPN that provides its own DNS servers.
- Ensure your VPN routes all DNS requests through its network.
- Clear your device’s DNS cache after connecting to a VPN.
4. Security and Privacy Risks
If your DNS requests go through an untrusted or insecure DNS provider, your online activity may be logged or monitored. Some ISPs sell browsing data to advertisers, while hackers can manipulate DNS to redirect you to fake websites.
How to Fix It:
- Use a VPN with encrypted DNS support.
- Choose a zero-log VPN provider.
- Avoid using public or ISP-provided DNS servers.
How to Check If Your VPN is Handling DNS Correctly
To make sure your VPN is not leaking DNS or slowing down your browsing, follow these steps:
- Run a DNS Leak Test – Visit
dnsleaktest.combefore and after connecting to your VPN. - Check Your DNS Provider – Use online tools to see which DNS server your device is using.
- Compare Speeds – Test your internet speed with and without your VPN to see if DNS is causing slowdowns.
- Try a Different DNS Provider – Manually set your DNS to Cloudflare (1.1.1.1) or Google (8.8.8.8) and check if performance improves.
Final Thoughts
DNS is a critical part of how the internet works, and it can significantly impact your VPN connection. By understanding DNS leaks, speed issues, content blocking, and security risks, you can take steps to improve your VPN experience. Always choose a VPN that offers secure DNS handling, and test your connection regularly to ensure your data stays private and your internet runs smoothly.