How do I change my DNS settings on Android?
Changing the DNS settings on your Android device can help improve internet speed, security, and access to blocked websites. Whether you want to use Google’s public DNS, Cloudflare, or another provider, the process is simple. Here’s how you can do it step by step.
What is DNS?
DNS (Domain Name System) translates website names (like google.com) into IP addresses so your device can connect to them. By default, your internet provider assigns DNS servers, but you can change them for better performance or security.
Changing DNS on Wi-Fi Connection
If you’re connected to Wi-Fi, you can change your DNS settings easily.
Steps:
- Open Settings – Go to your Android phone’s Settings app.
- Go to Network Settings – Tap on Wi-Fi.
- Select Your Network – Find the Wi-Fi network you’re connected to and tap on it.
- Modify Network – Look for an option like Modify network or Advanced settings.
- Change IP Settings to Static – Under IP settings, change DHCP to Static.
- Enter New DNS – Scroll down and enter the new DNS addresses in the DNS 1 and DNS 2 fields.
- Google DNS: 8.8.8.8 (DNS 1), 8.8.4.4 (DNS 2)
- Cloudflare DNS: 1.1.1.1 (DNS 1), 1.0.0.1 (DNS 2)
- OpenDNS: 208.67.222.222 (DNS 1), 208.67.220.220 (DNS 2)
- Save Changes – Tap Save and reconnect to the Wi-Fi network.
Changing DNS for Mobile Data
Android does not allow changing DNS for mobile data directly, but you can use a DNS changer app.
Steps:
- Download a DNS Changer App – Install an app like 1.1.1.1 by Cloudflare or DNSChanger from the Play Store.
- Open the App – Launch the app and choose a DNS provider.
- Start the Connection – Tap on Start to apply the new DNS settings.
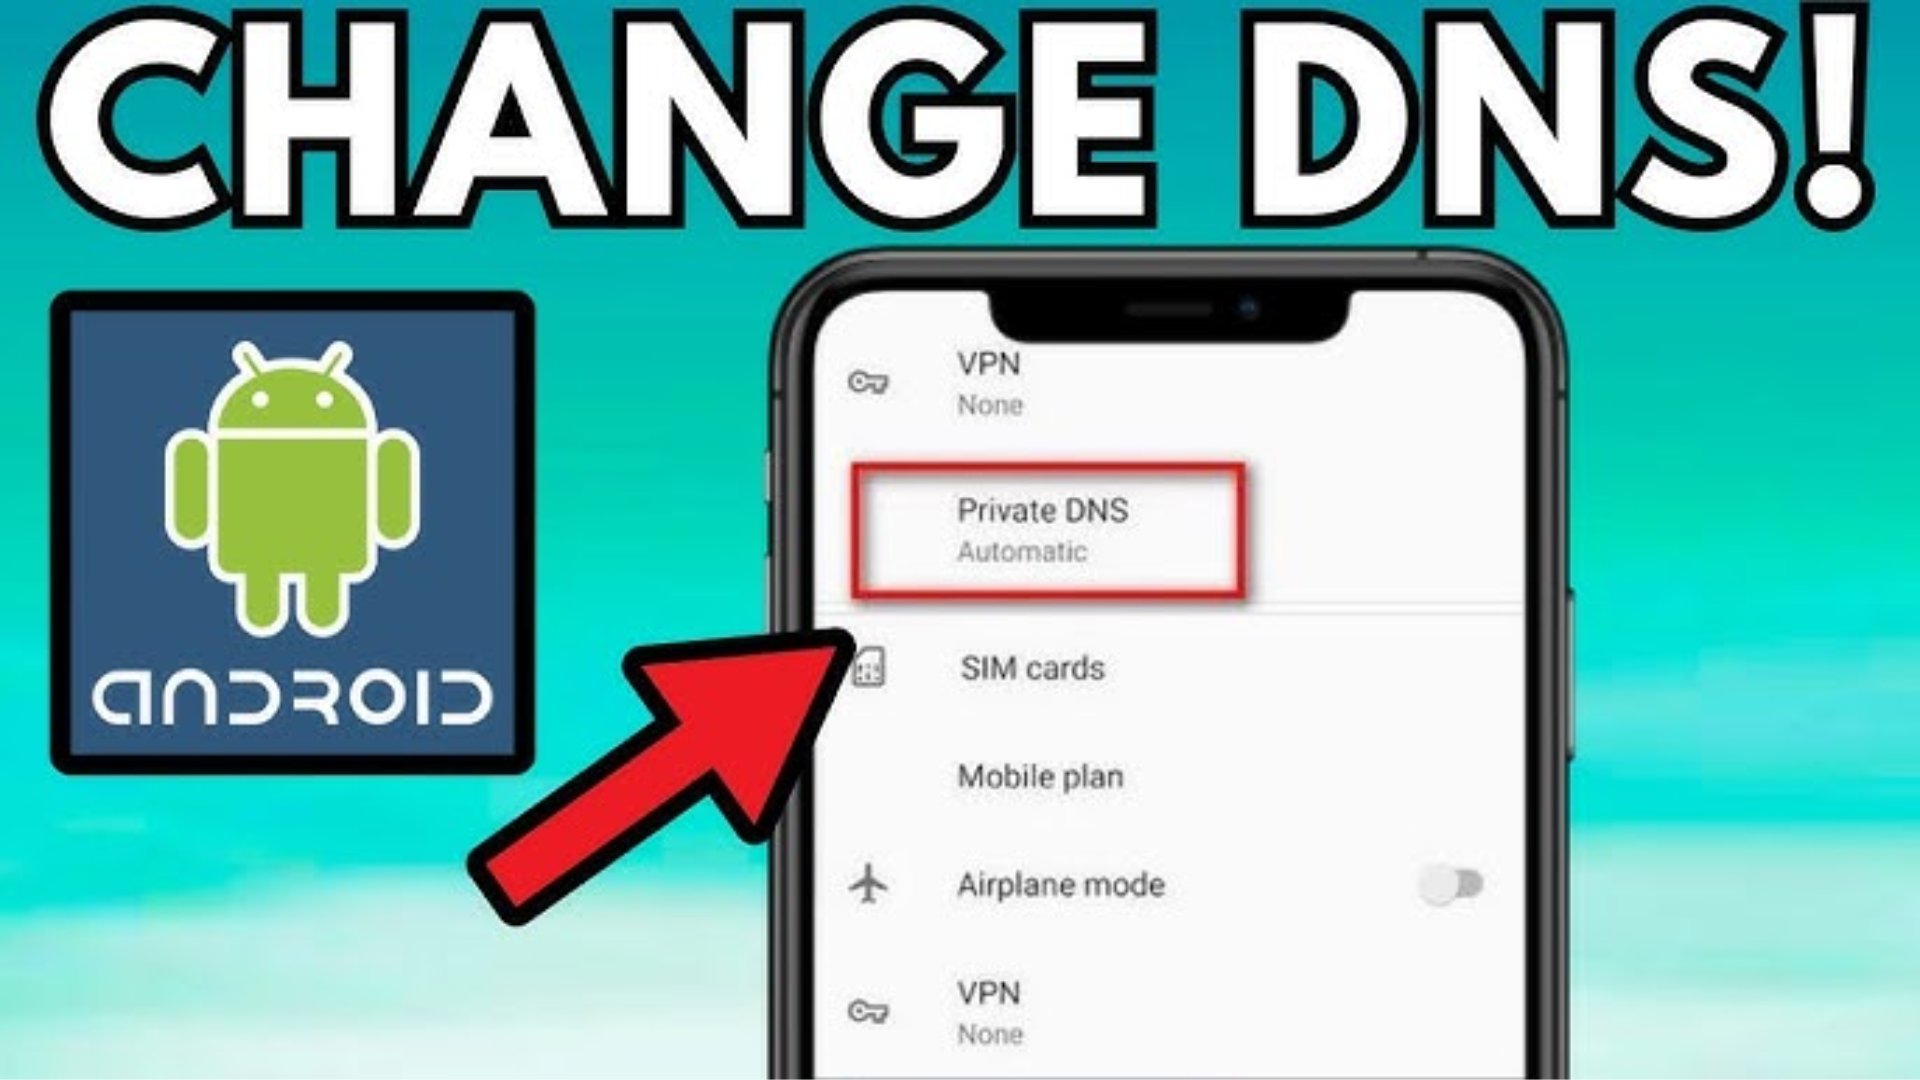
Using Private DNS (Android 9 and Above)
Newer Android versions allow setting up Private DNS for both Wi-Fi and mobile data.
Steps:
- Open Settings – Go to Settings.
- Go to Network & Internet – Tap Network & Internet.
- Select Private DNS – Tap on Private DNS.
- Choose Private DNS Provider – Select Private DNS provider hostname and enter one of the following:
- Google:
dns.google - Cloudflare:
one.one.one.one - Quad9:
dns.quad9.net
- Save and Exit – Tap Save and your DNS settings will be updated.
Why Change DNS?
Changing DNS can help with:
- Faster Browsing – Some DNS providers are quicker than your ISP’s default.
- Better Security – Services like Cloudflare and Quad9 block malicious websites.
- Access Blocked Websites – Alternative DNS servers may bypass restrictions.
Conclusion
Changing DNS settings on Android is easy and can improve your internet experience. Whether you’re using Wi-Fi or mobile data, you have options to customize your DNS for speed, security, and accessibility. If you use Wi-Fi, manual settings work best. For mobile data, a DNS changer app or Private DNS is the way to go.