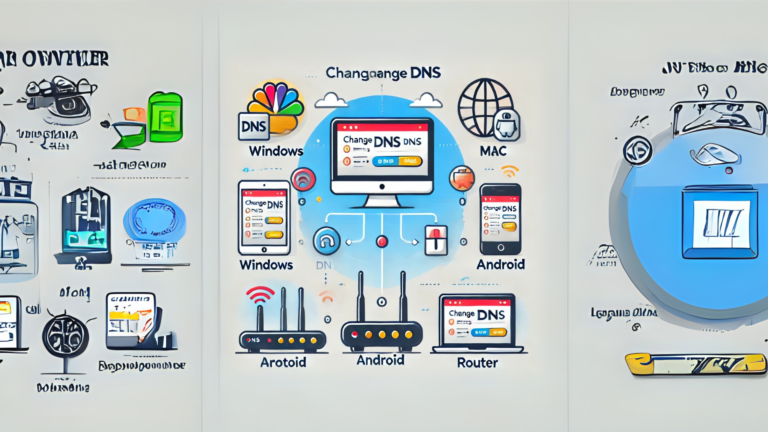
How do I configure DNS on my router?
Configuring DNS (Domain Name System) on your router can improve your internet speed, security, and access to blocked websites. While this might sound a bit technical, don’t worry—I’ll guide you step by step in simple terms. Let’s dive in and learn how you can easily configure DNS on your router.
What Is DNS and Why Should You Configure It?
DNS is like the phonebook of the internet. It translates website names (like google.com) into IP addresses that computers use to locate each other. By changing your DNS settings, you can speed up your internet connection, improve security, or access sites that are blocked by your current DNS provider.
When Should You Change DNS Settings?
You might want to change your DNS settings if:
- Your internet is running slower than usual.
- You want to improve online security.
- Certain websites are not loading or are blocked.
Steps to Configure DNS on Your Router
Here’s a simple guide on how to configure DNS on your router:
1. Access Your Router’s Admin Panel
To get started, you need to log into your router’s admin page. This is where you can change most of the settings.
- Open a web browser on your computer or phone.
- Type your router’s IP address into the address bar. It’s usually something like
192.168.1.1or192.168.0.1. If you’re unsure, check the sticker on your router or refer to the user manual. - Enter your username and password. If you haven’t changed them, the default ones might be something like “admin” for both fields.
2. Find the DNS Settings
Once you’re logged in:
- Look for the section called “Network”, “WAN”, or “Internet Settings”.
- Inside that section, find the DNS settings. This is where you can change the default DNS provided by your Internet Service Provider (ISP).
3. Change the DNS to a New Provider
Now, you’ll need to replace the current DNS settings with new ones. Here are some popular, free DNS providers you can use:
- Google DNS:
- Primary DNS:
8.8.8.8 - Secondary DNS:
8.8.4.4 - Cloudflare DNS:
- Primary DNS:
1.1.1.1 - Secondary DNS:
1.0.0.1 - OpenDNS:
- Primary DNS:
208.67.222.222 - Secondary DNS:
208.67.220.220
Just copy and paste the appropriate DNS addresses into the fields provided in your router’s admin panel.
4. Save the Changes
After entering the new DNS addresses, make sure to click “Save” or “Apply” to keep your changes.
5. Restart Your Router
It’s always a good idea to restart your router to make sure the changes take effect properly. Simply turn it off, wait for about 10-20 seconds, and then turn it back on.
6. Test the New DNS
Once your router restarts, test your internet connection. You can check if everything is working properly by visiting a few websites. If they load faster or you can access previously blocked sites, your new DNS is working well.
Troubleshooting Tips
Sometimes, things don’t go perfectly right away. Here are some quick fixes:
- Check DNS Entries: Make sure the DNS addresses were typed correctly.
- Restart Your Devices: If your devices (like your phone or computer) are still slow, try restarting them.
- Switch Back to Default: If the new DNS is causing problems, you can always switch back to the default DNS your ISP provides by following the same steps.
Why Use Custom DNS?
Choosing a custom DNS service, like Google DNS or Cloudflare DNS, can offer several benefits:
- Speed: Some DNS servers are faster than others, making your internet feel snappier.
- Security: Custom DNS providers often offer extra security features, such as protection from phishing attacks.
- Bypass Restrictions: Changing your DNS can help access websites that are blocked by your ISP or government.
Final Thoughts
Changing DNS on your router is a simple process that can improve your internet experience. With just a few steps, you can enhance your connection speed, boost security, and bypass internet restrictions. Take a moment to try it out, and enjoy a better online experience!
guiadenoivos.saojosedojardimeuropa.com.br
beyond.globalpranichealing.com/about/
ejournal.akbidbungabangsaaceh.ac.id
Similar Posts
How to change my DNS settings?
Changing your DNS (Domain Name System) settings might sound technical, but it’s actually a straightforward process that anyone can do. DNS is like a phonebook for the internet; it helps your computer…
Why is my DNS request timing out?
If you’re facing DNS request timeouts, it means your computer or device is trying to reach a website, but the request is failing. This can be frustrating, especially when you need quick…
How do I secure DNS records against tampering?
DNS (Domain Name System) records are crucial for directing internet traffic to the correct websites and services. If someone tampers with your DNS records, they can redirect your visitors to malicious sites,…
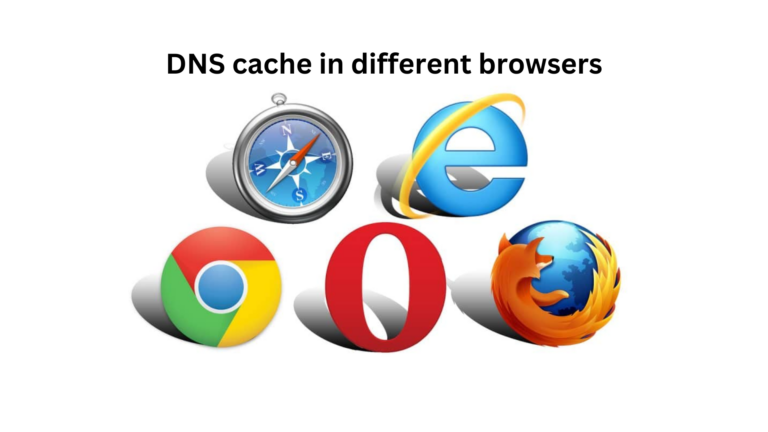
How to clear DNS cache in different browsers?
When you visit a website, your browser saves some data to load the page faster next time. One of these saved pieces of information is the DNS cache, which helps your computer…
How Do DNS Resolvers Prioritize IPv4 vs. IPv6?
The Domain Name System (DNS) is what helps translate website names (like google.com) into numerical IP addresses that computers understand. When a device requests a website, the DNS resolver determines whether to…
What is a DNS round-robin setup?
What is DNS Round-Robin? DNS Round-Robin is a simple way to distribute website traffic among multiple servers. It helps balance the load so that no single server gets overwhelmed with too many…