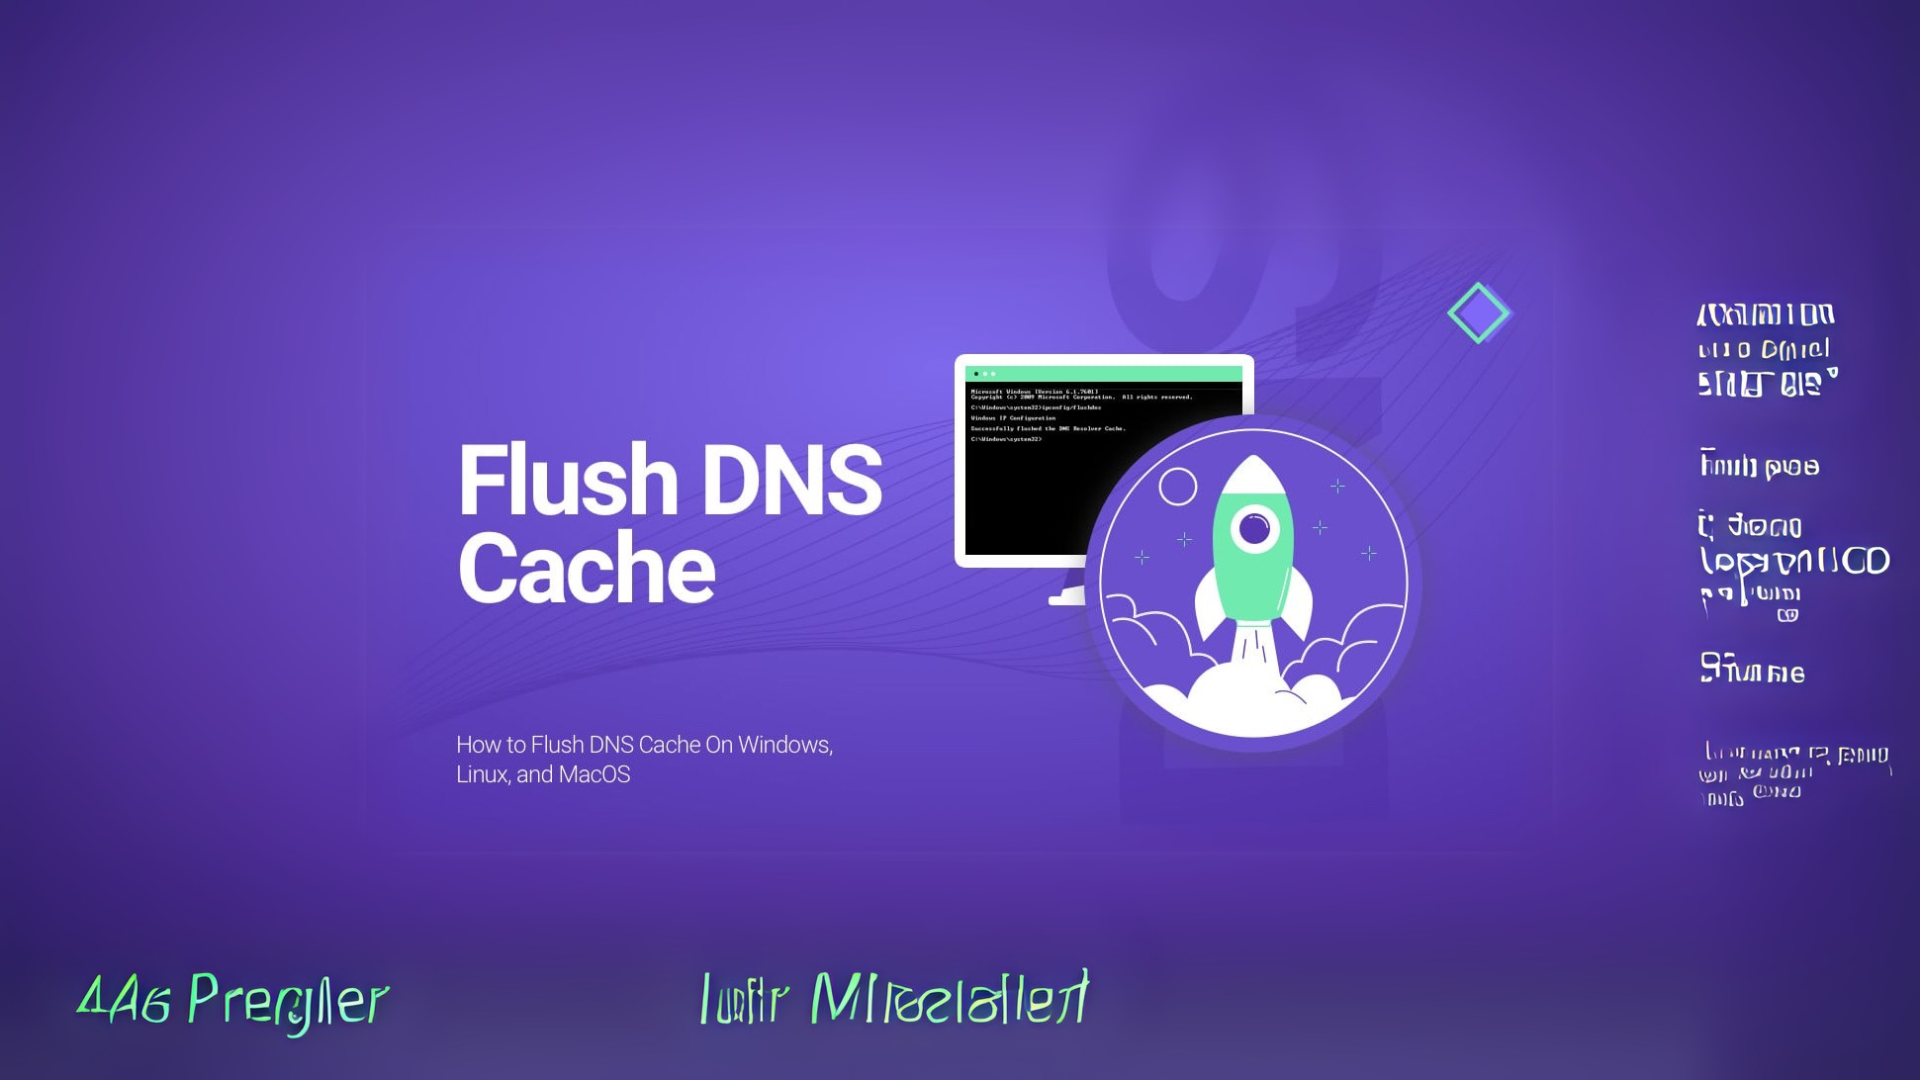
How to flush DNS cache?
Flushing your DNS cache is a straightforward process that can help resolve many internet connectivity issues. Whether you’re dealing with website errors, outdated IP addresses, or slow loading speeds, clearing the DNS cache can often fix these problems. Here’s a step-by-step guide to help you do it, no matter what device you’re using.
What Is DNS Cache?
Before diving into the steps, let me explain what the DNS cache is in simple terms. DNS stands for Domain Name System. It’s like a phone book for the internet. When you visit a website, your device saves its IP address in a temporary storage called the DNS cache. This makes loading the site faster next time. However, sometimes this stored information gets outdated or corrupted, leading to errors. That’s when flushing the cache becomes necessary.
Why Should You Flush the DNS Cache?
Here are some common reasons to clear your DNS cache:
- Fix Website Loading Issues: If a website isn’t opening or showing outdated content, flushing the cache can help.
- Resolve Security Concerns: A corrupted DNS cache could redirect you to harmful sites. Clearing it removes any unwanted entries.
- Refresh Network Settings: When changing networks or troubleshooting connectivity, clearing the cache ensures your device uses the latest DNS settings.
How to Flush DNS Cache on Different Systems
Let’s break down the steps based on the device or operating system you use.
1. On Windows
Follow these steps if you’re using a Windows computer:
- Press the Windows key and search for “Command Prompt.”
- Right-click on Command Prompt and select Run as Administrator.
- Type the following command:
ipconfig /flushdns- Press Enter.
You’ll see a message saying, “Successfully flushed the DNS Resolver Cache.”
2. On macOS
If you’re using a Mac, the steps are slightly different:
- Open the Terminal application.
You can find it by searching in Spotlight (Command + Space). - Type the appropriate command based on your macOS version:
- For macOS Monterey or later:
bash sudo dscacheutil -flushcache; sudo killall -HUP mDNSResponder - For older versions:
bash sudo killall -HUP mDNSResponder
- Press Enter and enter your password if prompted.
Note: You won’t see a confirmation message, but the cache will be cleared.
3. On Linux
Linux users can clear their DNS cache using these steps:
- Open the Terminal.
- Depending on your distribution, use one of the following commands:
- For systems using
systemd:bash sudo systemd-resolve --flush-caches - For older versions:
bash sudo service nscd restart
- Press Enter. Your DNS cache will now be cleared.
4. On Android
To clear the DNS cache on Android:
- Open Settings.
- Go to Apps or Manage Apps.
- Find your web browser (e.g., Chrome) and tap on it.
- Select Clear Cache (not Clear Data).
- Restart your phone for good measure.
5. On iPhone
For iPhone users, there’s no direct way to flush the DNS cache. However, you can achieve the same result by:
- Turning Airplane Mode on and off.
OR - Resetting network settings:
- Go to Settings > General > Reset > Reset Network Settings.
- Note: This will erase saved Wi-Fi passwords, so be prepared to reconnect to your networks.
What to Do After Flushing DNS Cache?
Once you’ve cleared your DNS cache, it’s a good idea to:
- Restart Your Browser or App: Close and reopen the app or browser you’re using.
- Restart Your Router: If the issue persists, reboot your router to refresh the network.
- Test the Connection: Visit the website again to see if the problem is resolved.
Final Thoughts
Flushing your DNS cache is a quick and effective solution for many common internet issues. It doesn’t require technical skills and can be done in just a few minutes. The next time you face website or connectivity problems, give this method a try.