How to change my DNS settings?
Changing your DNS (Domain Name System) settings might sound technical, but it’s actually a straightforward process that anyone can do. DNS is like a phonebook for the internet; it helps your computer find websites. Changing your DNS can make your internet faster, safer, or even help you access blocked websites. Let’s walk through the steps to change DNS settings on different devices.
What is DNS?
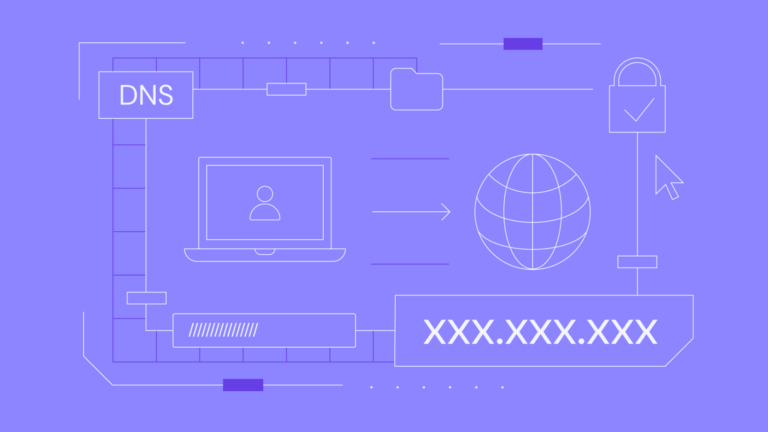
Before diving into the steps, let’s quickly understand DNS. When you type a website address like www.google.com, your computer uses DNS to find the matching IP address, which is the website’s real location. By changing the DNS, you can choose a faster or more secure server to handle this process.
Why Change Your DNS?
Here are a few reasons why people change their DNS:
- Faster Internet Speeds: Some DNS servers respond quicker than your default one.
- Improved Security: Certain DNS providers block harmful websites.
- Access to Blocked Content: Some DNS servers bypass restrictions on websites.
Steps to Change DNS Settings
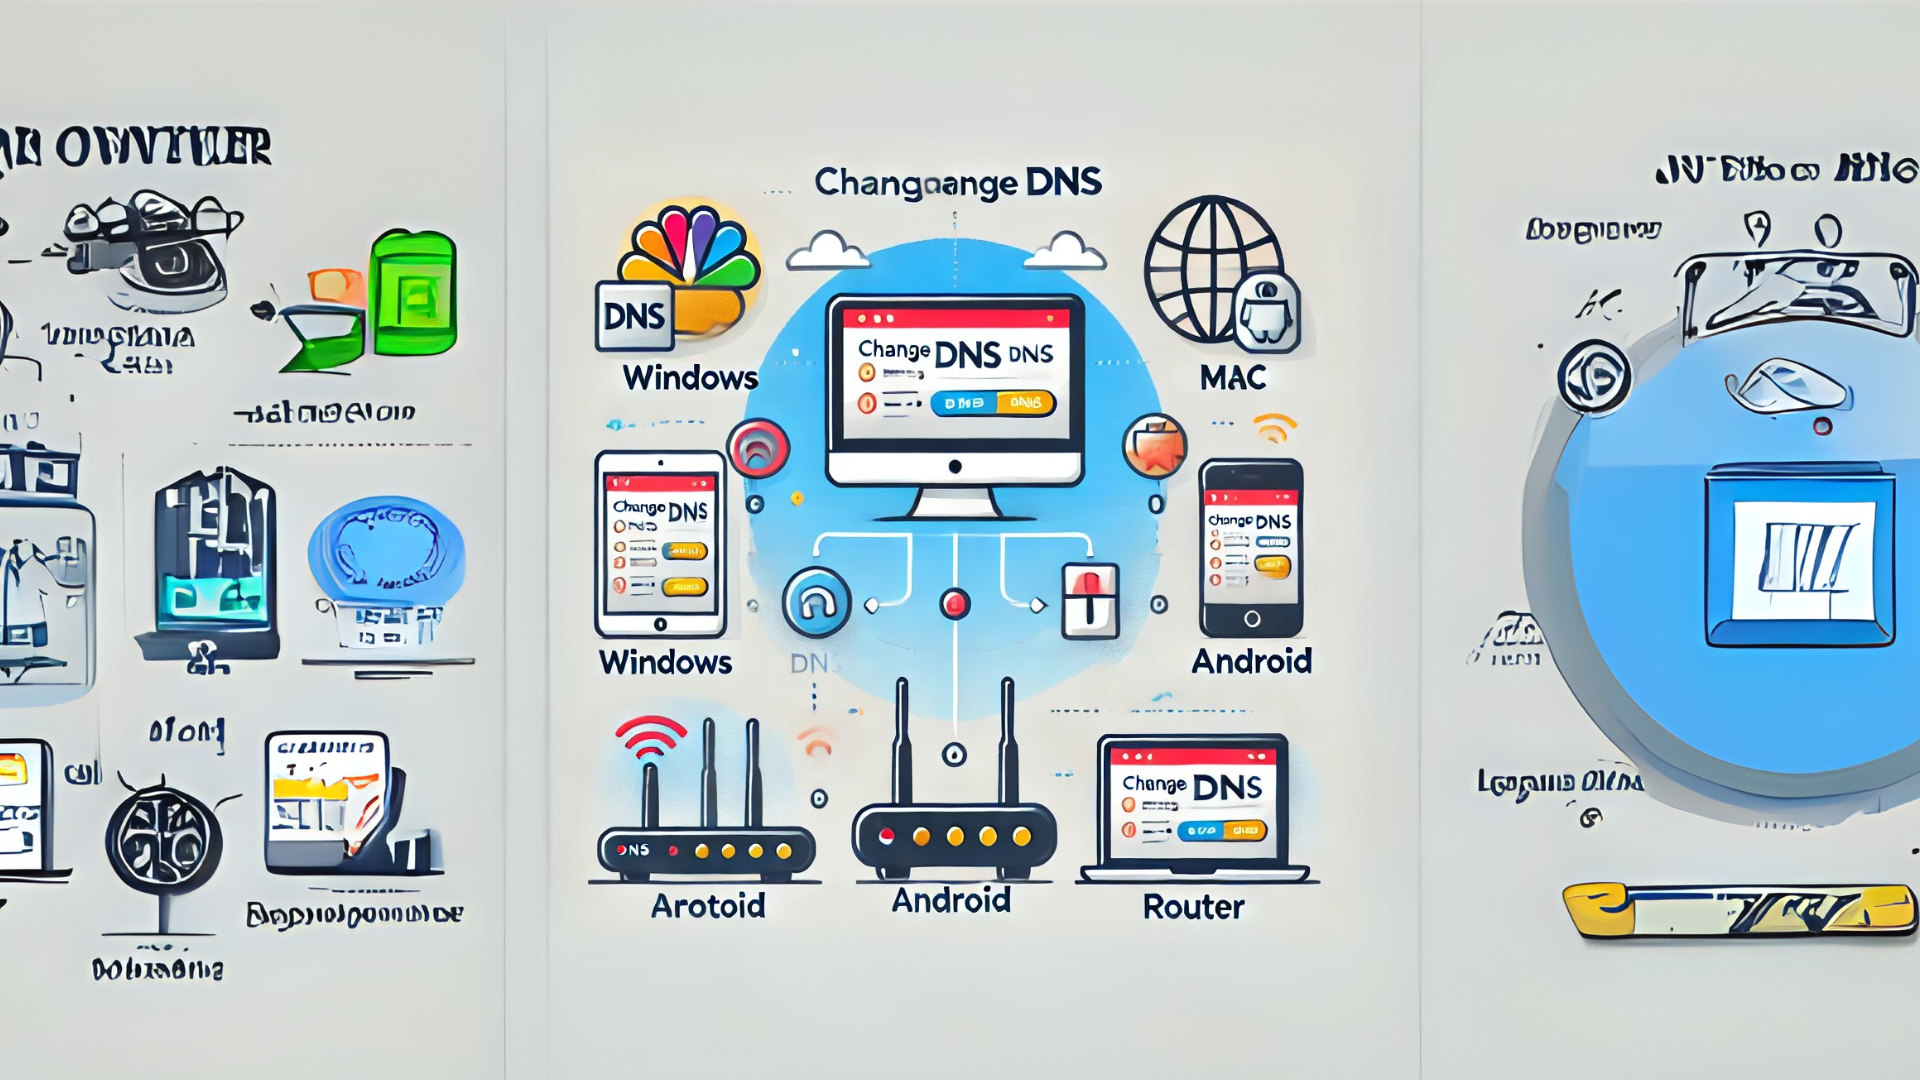
1. Changing DNS on Windows
- Step 1: Open the Control Panel.
- Step 2: Go to Network and Internet > Network and Sharing Center.
- Step 3: Click on Change adapter settings (on the left side).
- Step 4: Right-click your active connection (Wi-Fi or Ethernet) and select Properties.
- Step 5: Select Internet Protocol Version 4 (TCP/IPv4) and click Properties.
- Step 6: In the new window, click Use the following DNS server addresses.
- Step 7: Enter the DNS addresses:
- Preferred:
8.8.8.8(Google) - Alternate:
8.8.4.4(Google)
- Preferred:
- Step 8: Click OK to save.
2. Changing DNS on Mac
- Step 1: Go to System Preferences and open Network.
- Step 2: Select your active connection (Wi-Fi or Ethernet) and click Advanced.
- Step 3: Go to the DNS tab.
- Step 4: Click the + button and add new DNS addresses, such as:
1.1.1.1(Cloudflare)1.0.0.1(Cloudflare)
- Step 5: Click OK, then Apply.
3. Changing DNS on Android
- Step 1: Open Settings and go to Network & Internet.
- Step 2: Tap on your Wi-Fi network and choose Advanced.
- Step 3: Select Private DNS.
- Step 4: Choose Private DNS provider hostname and enter:
dns.google(for Google)one.one.one.one(for Cloudflare)
- Step 5: Save the settings.
4. Changing DNS on iPhone
- Step 1: Go to Settings and tap Wi-Fi.
- Step 2: Tap the i icon next to your connected Wi-Fi network.
- Step 3: Scroll down and tap Configure DNS.
- Step 4: Select Manual, then add DNS servers like:
8.8.8.88.8.4.4
- Step 5: Tap Save.
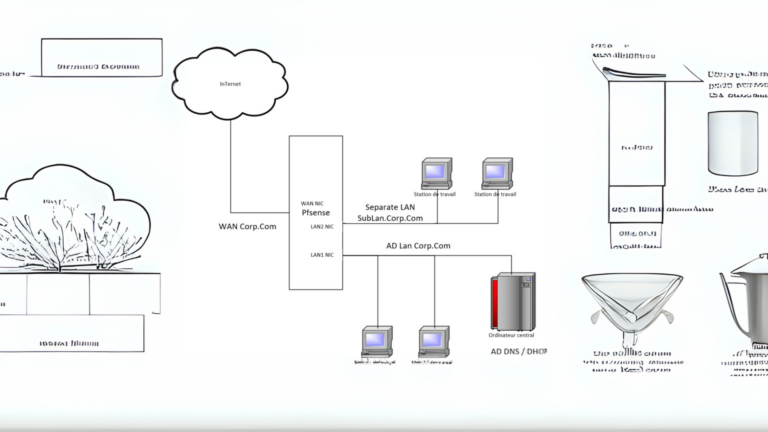
5. Changing DNS on Your Router
- Step 1: Open a browser and log in to your router (usually by typing
192.168.1.1or192.168.0.1). - Step 2: Enter your username and password (check your router manual for these).
- Step 3: Look for the DNS settings under the network or advanced settings menu.
- Step 4: Replace the default DNS with addresses like:
- Google:
8.8.8.8and8.8.4.4 - Cloudflare:
1.1.1.1and1.0.0.1
- Google:
- Step 5: Save the changes and restart your router.
Best DNS Providers
Here’s a quick list of popular DNS providers:
| Provider | Preferred DNS | Alternate DNS |
|---|---|---|
8.8.8.8 | 8.8.4.4 | |
| Cloudflare | 1.1.1.1 | 1.0.0.1 |
| OpenDNS | 208.67.222.222 | 208.67.220.220 |
Important Tips
- Test Your Connection: After changing your DNS, visit websites to ensure everything is working.
- Use Reputable Providers: Stick to well-known DNS services for security.
- Revert If Needed: If you face issues, switch back to your original settings by selecting “Obtain DNS server address automatically.”