What is the best DNS configuration for streaming services?
Streaming services like Netflix, Hulu, Disney+, and Amazon Prime require a fast and stable internet connection. But did you know that your DNS (Domain Name System) settings can also impact your streaming experience?
If you’ve ever faced buffering issues, slow load times, or regional content restrictions, tweaking your DNS settings might help.
What is DNS and Why Does It Matter?
DNS is like the internet’s phonebook. When you type a website’s name, DNS translates it into an IP address that your device can understand.
If your DNS server is slow, it can take longer for your streaming service to load content.
A good DNS configuration can:
- Reduce buffering and lag
- Improve connection speeds
- Bypass geo-restrictions (in some cases)
- Increase security and privacy
Best DNS Servers for Streaming
Changing your DNS settings can sometimes lead to better speeds and access to blocked content. Here are some of the best DNS servers for streaming:
| DNS Provider | Primary DNS | Secondary DNS |
|---|---|---|
| Google DNS | 8.8.8.8 | 8.8.4.4 |
| Cloudflare DNS | 1.1.1.1 | 1.0.0.1 |
| OpenDNS | 208.67.222.222 | 208.67.220.220 |
| Quad9 | 9.9.9.9 | 149.112.112.112 |
| SmartDNS (Paid) | Varies | Varies |
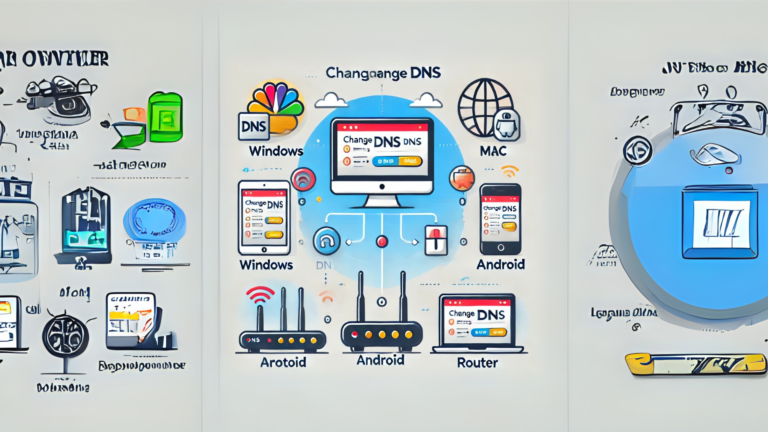
How to Change Your DNS for Better Streaming
Changing your DNS is simple. Here’s how you can do it:
On Windows:
- Open Control Panel and go to Network and Internet.
- Click on Network and Sharing Center.
- Select Change adapter settings.
- Right-click your internet connection and choose Properties.
- Select Internet Protocol Version 4 (TCP/IPv4) and click Properties.
- Choose Use the following DNS server addresses and enter your preferred DNS.
- Click OK and restart your connection.
On macOS:
- Open System Settings and go to Network.
- Select your Wi-Fi or Ethernet connection.
- Click Advanced and go to the DNS tab.
- Remove existing servers and add a new one from the list above.
- Click OK and restart your connection.
On a Router:
- Log into your router’s admin panel (usually at 192.168.1.1 or 192.168.0.1).
- Look for DNS Settings (found under WAN or Internet settings).
- Enter the new DNS addresses.
- Save changes and restart your router.
Things to Consider
- Speed vs. Security: Some DNS servers prioritize speed, while others focus on blocking harmful sites.
- Regional Restrictions: Changing DNS may help bypass content blocks, but some streaming services detect and block custom DNS settings.
- Paid vs. Free: Services like SmartDNS (paid) are specifically designed for streaming and can unblock region-locked content.
Final Thoughts
If you often face buffering or restricted content, changing your DNS could be a simple fix. Google DNS and Cloudflare DNS are great free options for speed, while paid SmartDNS services can help access geo-blocked content.
Try different DNS settings to see which works best for your streaming needs.