How to detect unauthorized DNS changes?
The Domain Name System (DNS) is like the address book of the internet. It translates website names into IP addresses so computers can connect to the right servers. If someone makes unauthorized changes to your DNS settings, they could redirect your traffic to fake websites, intercept your data, or disrupt your internet connection.
Knowing how to detect unauthorized DNS changes is essential to keep your network secure. Here’s how you can do it.
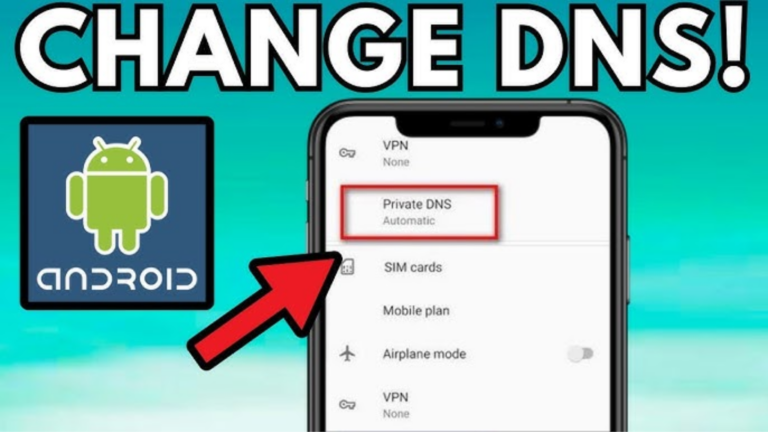
1. Check Your DNS Settings Regularly
One of the simplest ways to detect unauthorized changes is by manually checking your DNS settings. Here’s how:
- Windows:
- Open the Command Prompt (Press
Win + R, typecmd, and press Enter). - Type
ipconfig /alland press Enter. - Look for “DNS Servers” and note the addresses listed.
- Mac:
- Open System Preferences.
- Go to “Network” and select your active connection.
- Click “Advanced” and then the “DNS” tab.
- Check the DNS server addresses listed.
- Router:
- Log into your router (usually by entering
192.168.1.1or192.168.0.1in your browser). - Navigate to the DNS settings section.
- Verify that the DNS addresses match those provided by your ISP or preferred DNS provider.
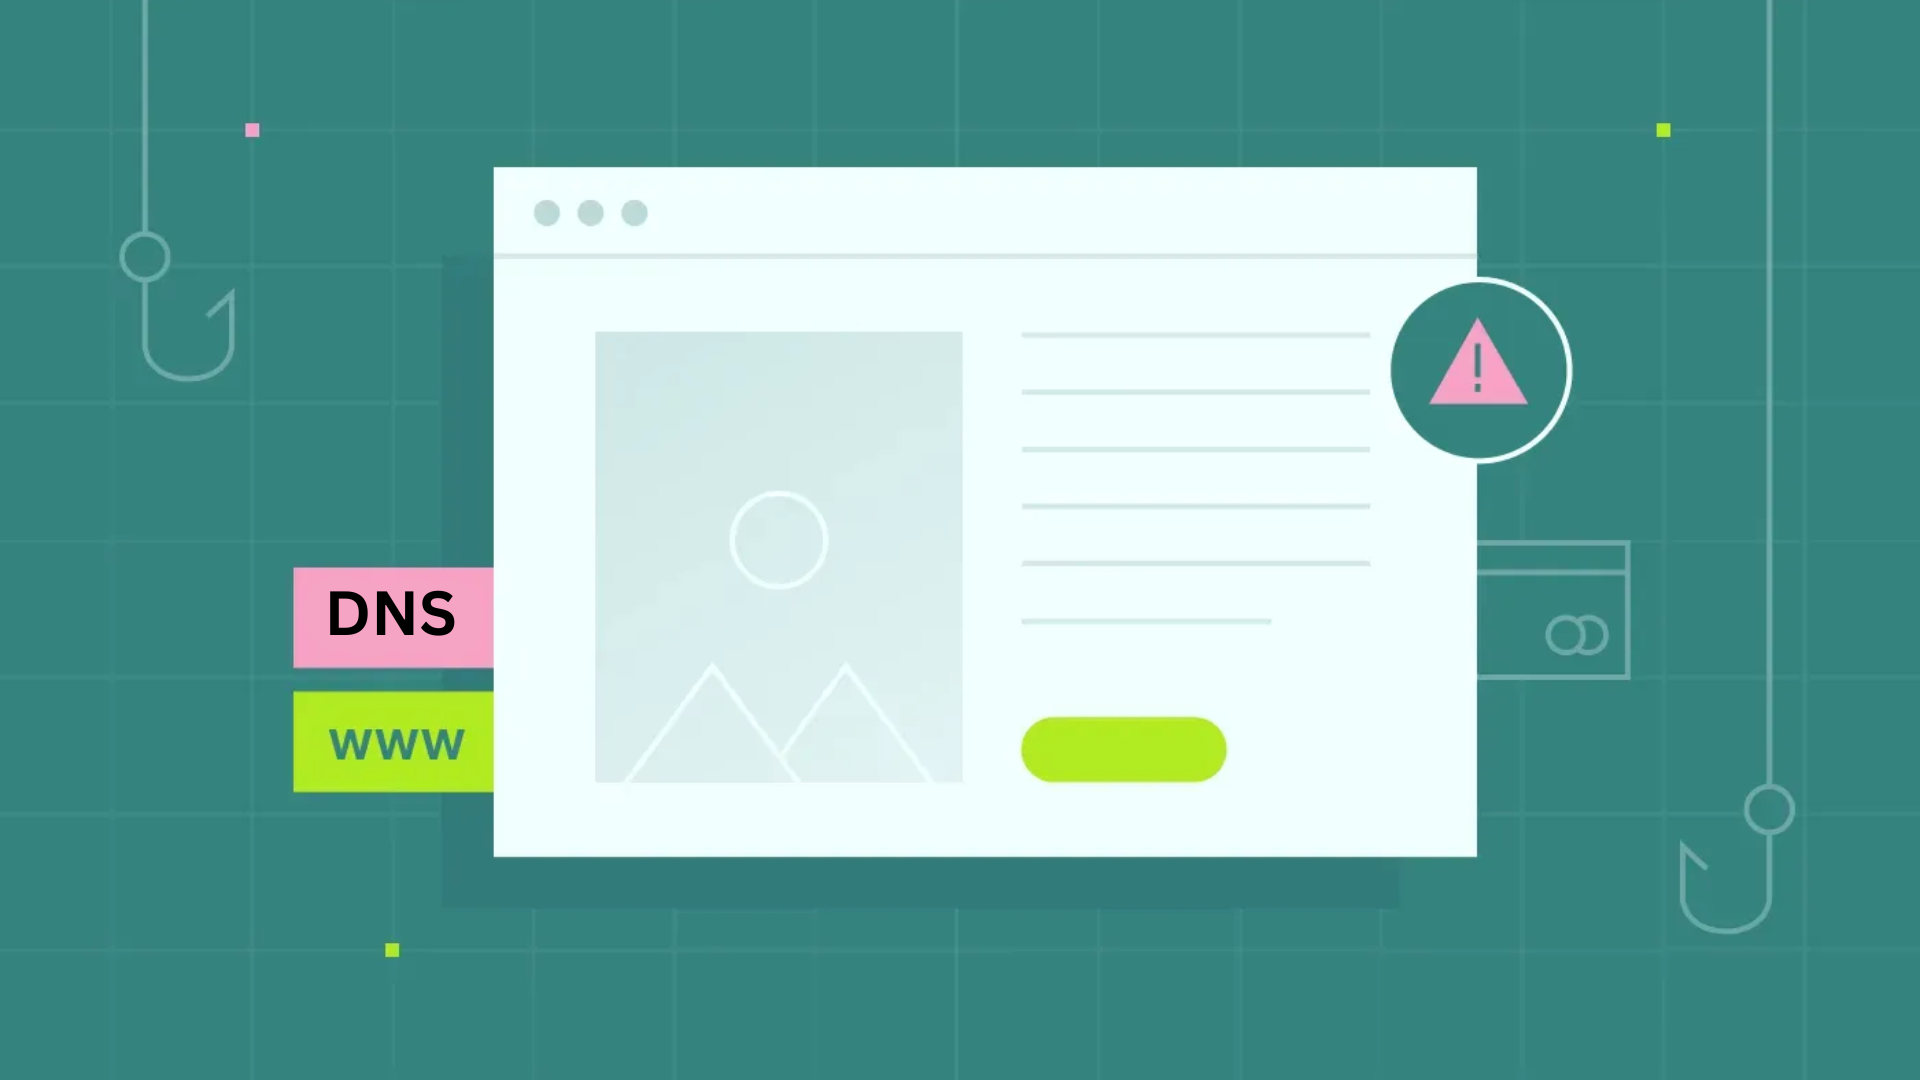
If you see unexpected changes, it could mean someone tampered with your settings.
2. Use Online DNS Lookup Tools
There are free online tools that can show the DNS records associated with your domain. Some popular ones include:
- Google Admin Toolbox (toolbox.googleapps.com)
- MXToolbox (mxtoolbox.com)
- DNSstuff (dnsstuff.com)
These tools let you compare your current DNS records with the expected values. If there’s a mismatch, it may indicate an issue.
3. Set Up DNS Monitoring Services
DNS monitoring services alert you whenever your DNS records change. Some popular options include:
- Cloudflare DNS Monitoring
- DNS Spy
- IntoDNS
- SecurityTrails
These services check your DNS records at regular intervals and notify you of any unauthorized modifications.
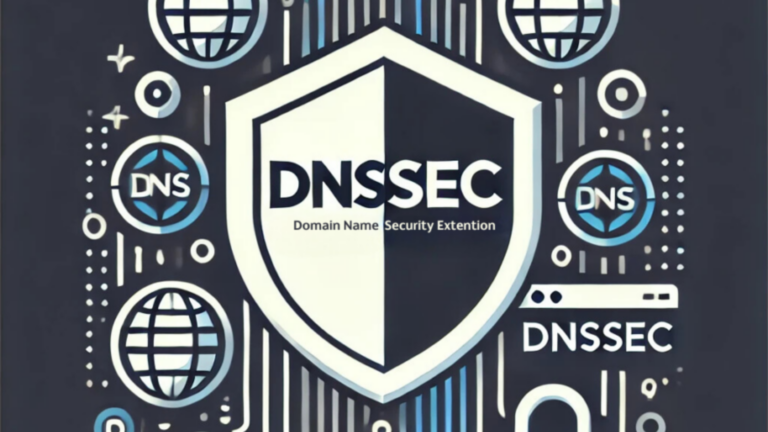
4. Enable DNSSEC
DNS Security Extensions (DNSSEC) add an extra layer of security by ensuring that DNS responses come from an authorized source. To enable DNSSEC:
- Check if your domain registrar supports DNSSEC.
- Activate it in your domain settings.
- Verify that DNSSEC is working using online tools like Verisign’s DNSSEC Analyzer.
5. Monitor Network Traffic
Unusual network activity can indicate unauthorized DNS changes. You can use network monitoring tools like:
- Wireshark (free network traffic analyzer)
- GlassWire (network security monitoring for Windows)
- Nagios (server and network monitoring)
Look for suspicious traffic or connections to unfamiliar DNS servers.
6. Scan for Malware
Some malware can change your DNS settings without your knowledge. To check for malware:
- Run a full scan using antivirus software like Windows Defender, Malwarebytes, or Norton.
- Use anti-malware tools like AdwCleaner to detect DNS hijackers.
- Remove any unknown or suspicious programs from your computer.
7. Use a Secure DNS Provider
Instead of relying on your ISP’s default DNS, use a secure DNS provider that offers protection against unauthorized changes. Some good options include:
- Google Public DNS (
8.8.8.8and8.8.4.4) - Cloudflare DNS (
1.1.1.1and1.0.0.1) - OpenDNS (
208.67.222.222and208.67.220.220)
These services provide additional security features to help prevent DNS hijacking.
Final Thoughts
Unauthorized DNS changes can lead to serious security risks, but you can protect yourself by regularly checking your DNS settings, using monitoring tools, enabling DNSSEC, and securing your network. If you ever notice unexpected changes, act quickly to restore your correct settings and investigate the cause.