How to implement DNS encryption on my network?
If you’re concerned about privacy while browsing the internet, implementing DNS encryption can help. DNS (Domain Name System) is like the phonebook of the internet. It helps your devices find websites when you type in a web address. But, without encryption, your DNS queries can be seen by others, which might expose your browsing habits. This is where DNS encryption comes in. It helps protect your privacy by securing the communication between your device and the DNS server.
In this guide, I’ll explain how to set up DNS encryption on your network in simple terms. You don’t need to be a tech expert to do it!
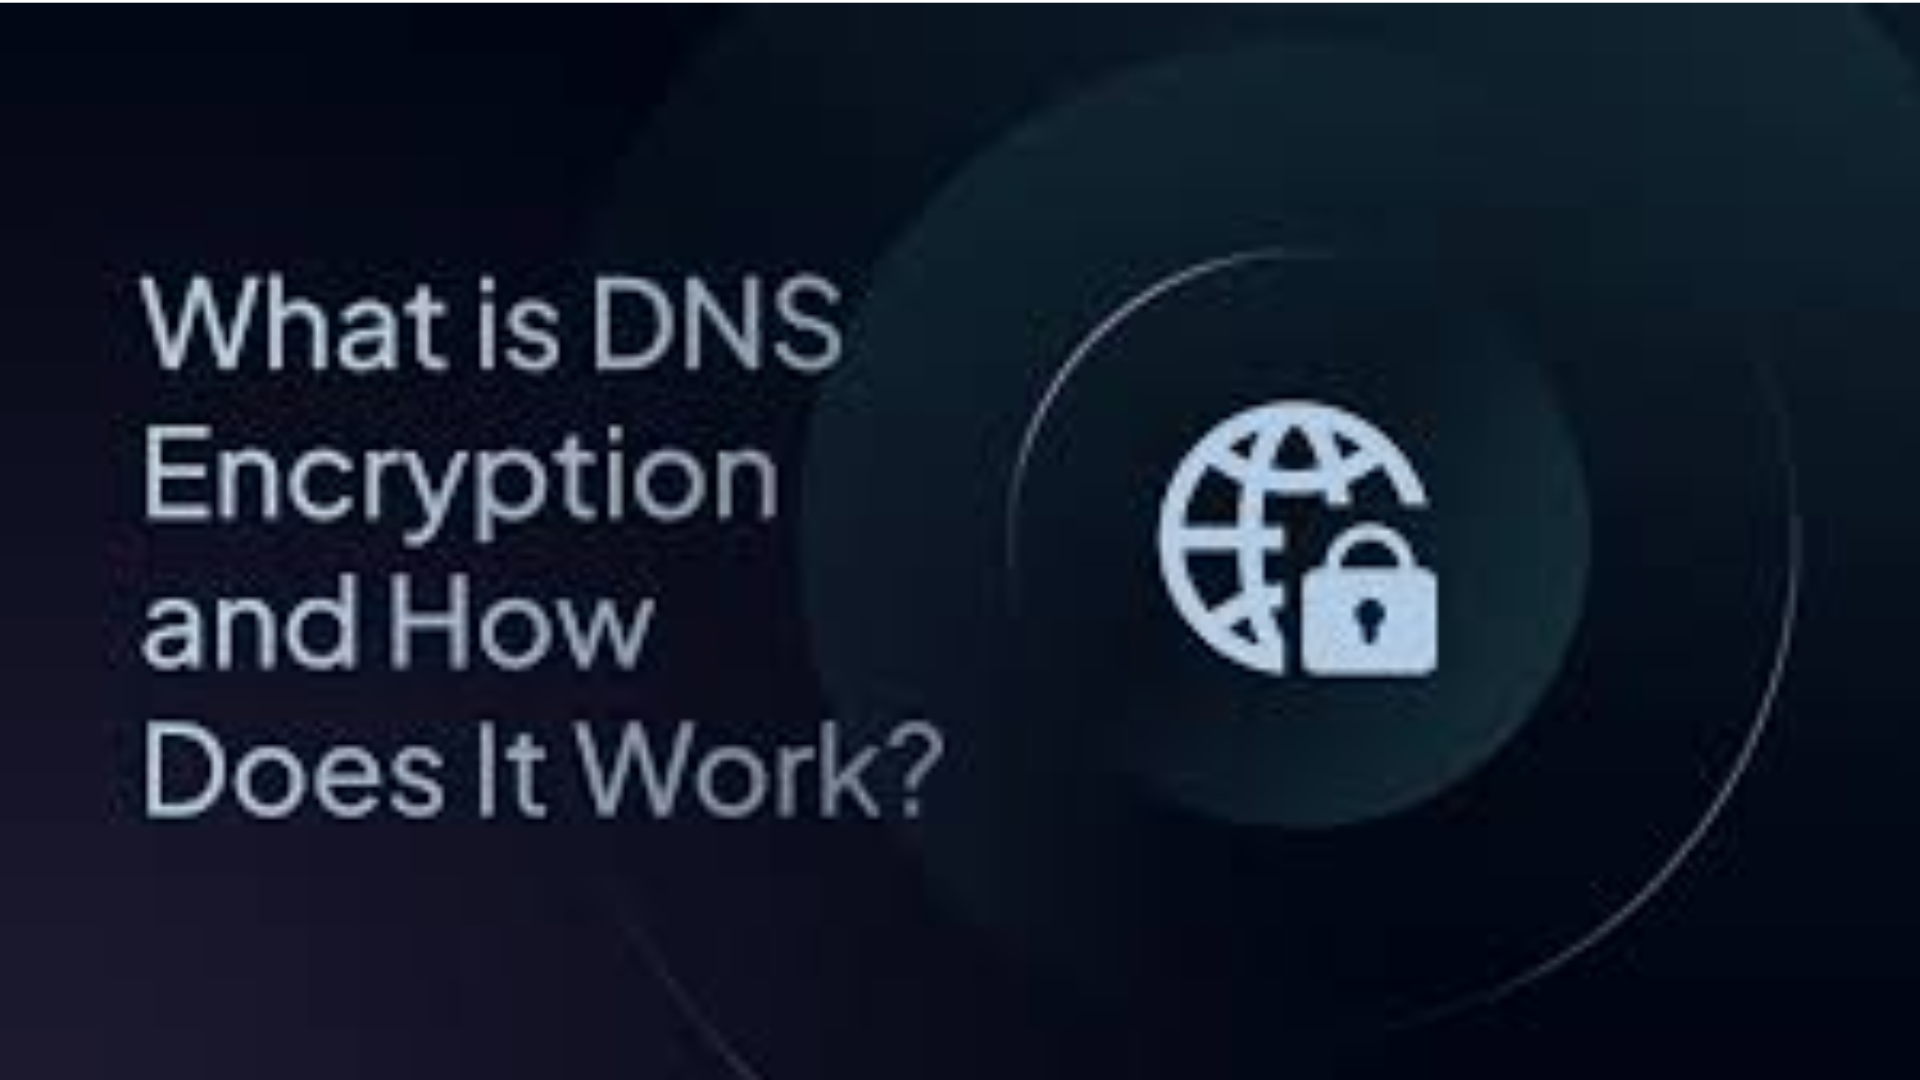
What Is DNS Encryption?
Before jumping into how to set it up, let’s first understand what DNS encryption is. Normally, when you type a website address (like www.example.com), your device asks a DNS server to find the correct website for you. This request is sent in plain text, which means anyone who can “listen” to your internet traffic can see which websites you’re visiting.
DNS encryption ensures that these requests are encrypted, making it harder for anyone to spy on your browsing activity. It keeps your information private and secure.
Benefits of DNS Encryption
Here’s why you should consider implementing DNS encryption on your network:
- Privacy Protection: It hides your browsing activity from hackers and internet service providers.
- Improved Security: It prevents attackers from redirecting your traffic to harmful websites (a tactic known as DNS spoofing).
- Bypass Restrictions: In some countries, DNS encryption can help you access websites that may be blocked.
Types of DNS Encryption
There are two main ways to encrypt DNS traffic: DNS over HTTPS (DoH) and DNS over TLS (DoT). Both work in similar ways, but with slight differences in how the data is encrypted.
- DNS over HTTPS (DoH): This method sends DNS queries through an encrypted connection (HTTPS). It hides the queries inside regular web traffic, making it harder for anyone to notice.
- DNS over TLS (DoT): DoT works by encrypting DNS queries over a secure connection (TLS). It’s similar to the HTTPS you use to browse secure websites.
Both are good options for protecting your privacy, but we’ll focus on how to set up DNS over HTTPS (DoH) since it’s more widely supported.
How to Implement DNS Encryption
Here’s how to set up DNS encryption on your network, step by step. Don’t worry, it’s simple and quick!
Step 1: Choose a DNS Provider that Supports Encryption
First, you need to pick a DNS provider that supports DNS encryption. Some popular DNS providers offering encryption are:
- Cloudflare: Offers DNS over HTTPS and DNS over TLS, with a focus on privacy.
- Google DNS: Supports DNS over HTTPS.
- Quad9: Provides DNS over HTTPS and TLS with security features.
Step 2: Change Your DNS Settings
Now that you’ve chosen a provider, you need to change your device’s DNS settings. Here’s how to do it on different devices:
On Windows
- Open Control Panel and go to Network and Sharing Center.
- Click Change adapter settings on the left.
- Right-click your active network and select Properties.
- In the list, select Internet Protocol Version 4 (TCP/IPv4) and click Properties.
- Choose Use the following DNS server addresses.
- Enter your new DNS provider’s encrypted DNS server addresses. For Cloudflare, you can use:
- Preferred DNS:
1.1.1.1 - Alternate DNS:
1.0.0.1
- Click OK to save.
On Mac
- Open System Preferences and select Network.
- Choose your network (Wi-Fi or Ethernet) and click Advanced.
- Go to the DNS tab and click the + button to add the new DNS addresses.
- Enter your provider’s DNS addresses (e.g., Cloudflare:
1.1.1.1and1.0.0.1). - Click OK and then Apply.
On Android
- Open Settings and go to Network & Internet.
- Tap Wi-Fi, then select your network.
- Tap Advanced and choose Private DNS.
- Select Private DNS provider hostname and enter your provider’s hostname. For Cloudflare, use:
1dot1dot1dot1.cloudflare-dns.com. - Tap Save.
On iOS
- Open Settings, then go to Wi-Fi.
- Tap the “i” next to your connected network.
- Scroll down to Configure DNS and select Manual.
- Add your DNS provider’s addresses, then tap Save.
Step 3: Enable DNS over HTTPS (DoH)
If you want to use DNS over HTTPS specifically, some devices and apps allow you to enable this feature directly.
On Windows (with Firefox or Chrome)
- Open Firefox or Chrome.
- Go to the settings and search for DNS over HTTPS.
- Turn on DNS over HTTPS and enter your provider’s URL (e.g., for Cloudflare, use:
https://cloudflare-dns.com/dns-query). - Save the settings, and your browsing will now be encrypted.
On Android (with Chrome)
- Open Settings and go to Network & Internet.
- Tap Advanced, then select DNS.
- Enable DNS over HTTPS and enter your provider’s URL (e.g.,
https://cloudflare-dns.com/dns-query). - Save your settings.
Step 4: Test Your Connection
Once you’ve changed the settings, it’s a good idea to check if DNS encryption is working. You can use online tools like 1.1.1.1/help (Cloudflare) to test if your DNS traffic is encrypted.
Final Thoughts
Implementing DNS encryption on your network is a simple way to boost your online privacy and security. By following these steps, you can make sure your browsing activity is protected from prying eyes.
Although there are several providers and methods to choose from, Cloudflare, Google, and Quad9 are all solid options. Once you’ve set everything up, you’ll enjoy a more private and secure internet experience.